How to customize your Paperless Post invitations
As people who enjoy hosting parties and events, who among us hasn’t wished we’d had some professional input when it came to making invitations? We may have plenty of heart and good intentions, but we can’t all be born with a designer’s eye.
Luckily, you don’t need to be an artiste to send out invites that make guests swoon. That’s where Paperless Post comes in. We have thousands of memorable and customizable invitation templates that you can create and send in minutes. We’ve even added some new tools and features that make it easier than ever to add your own style and personality to our stationery-inspired Card invitations and textable Flyer invites.
Let’s take a look at some of our favorite ways to customize and personalize your Paperless Post invitation templates—no design experience (or skills) needed.
Table of Contents
1. Browse invitations by theme
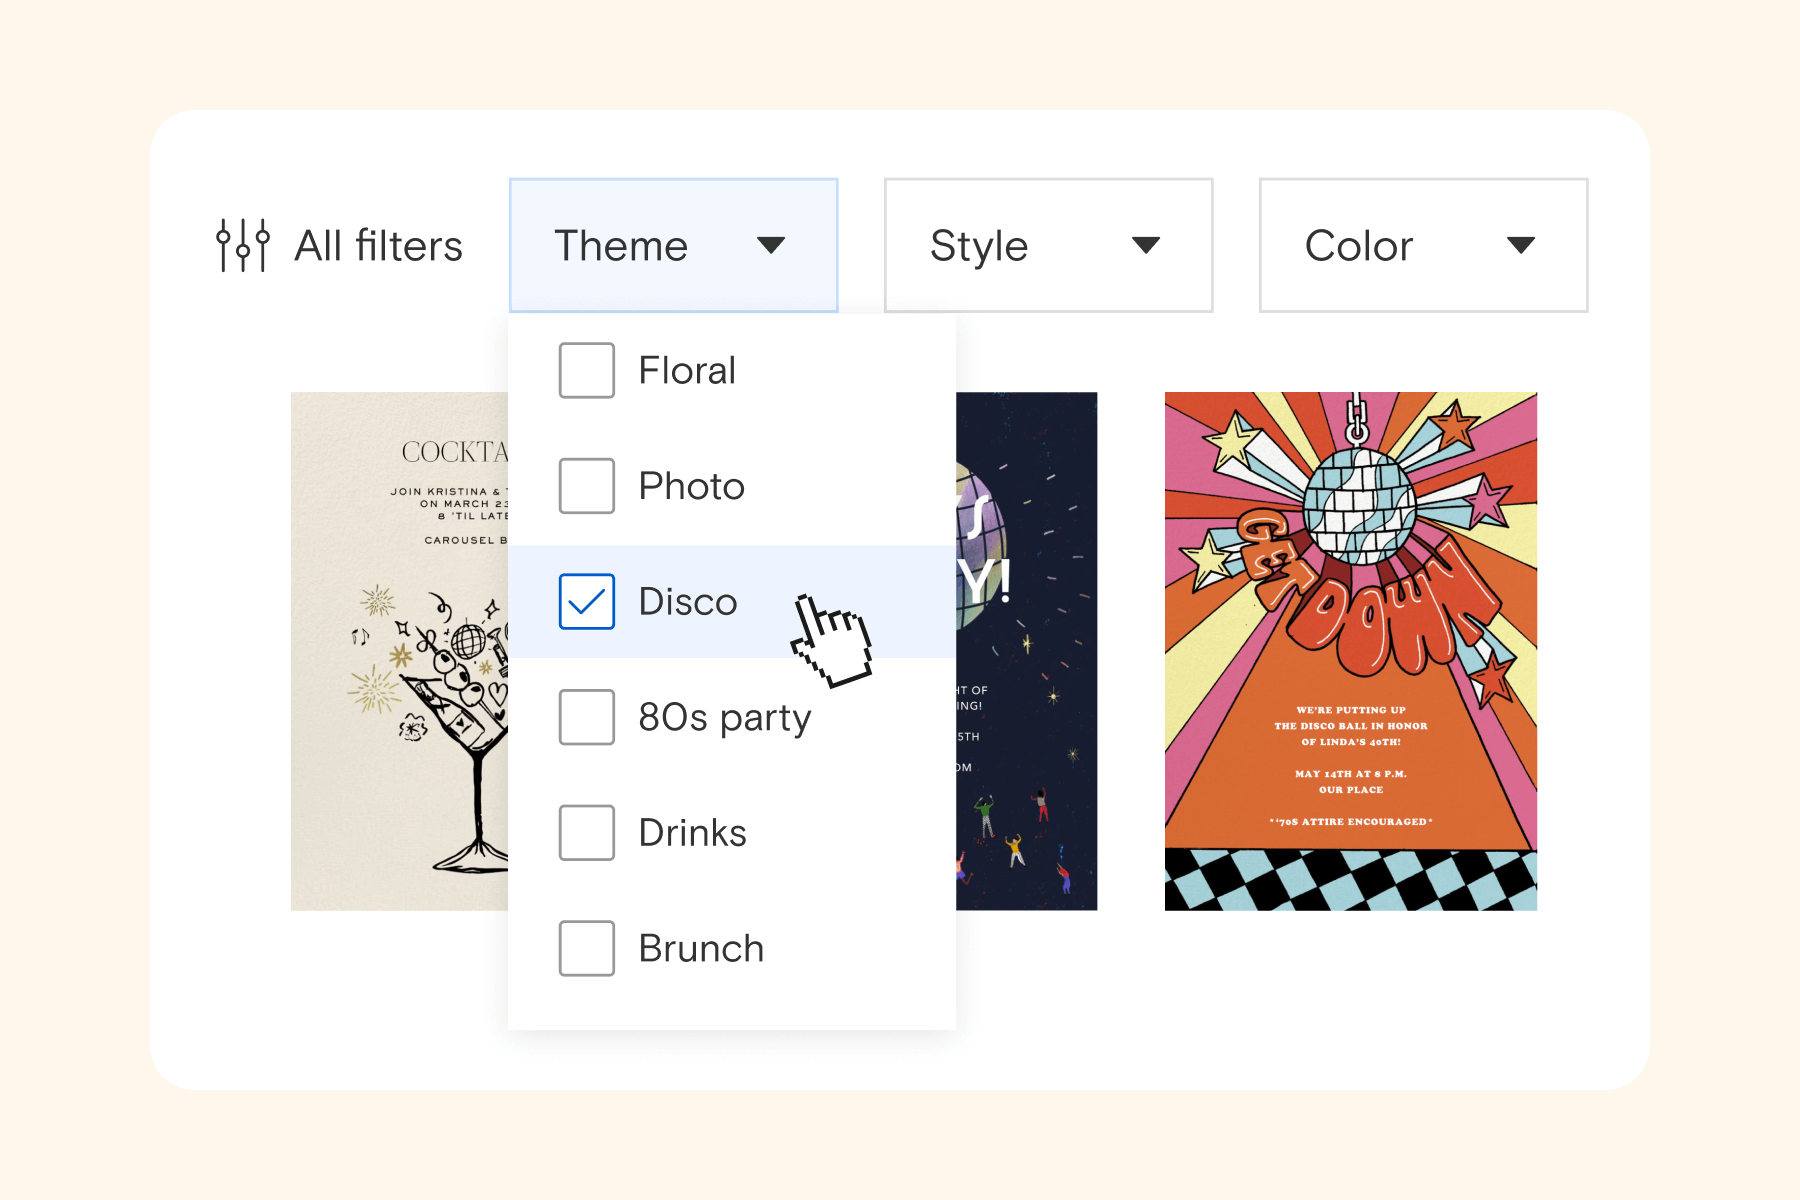
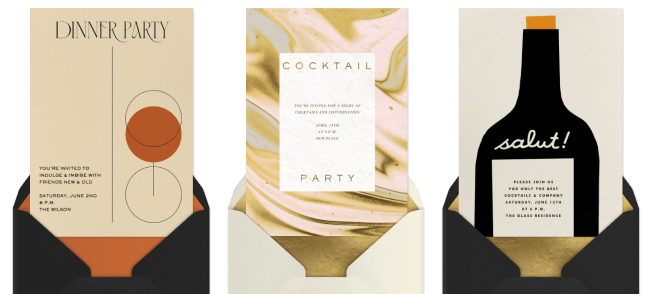
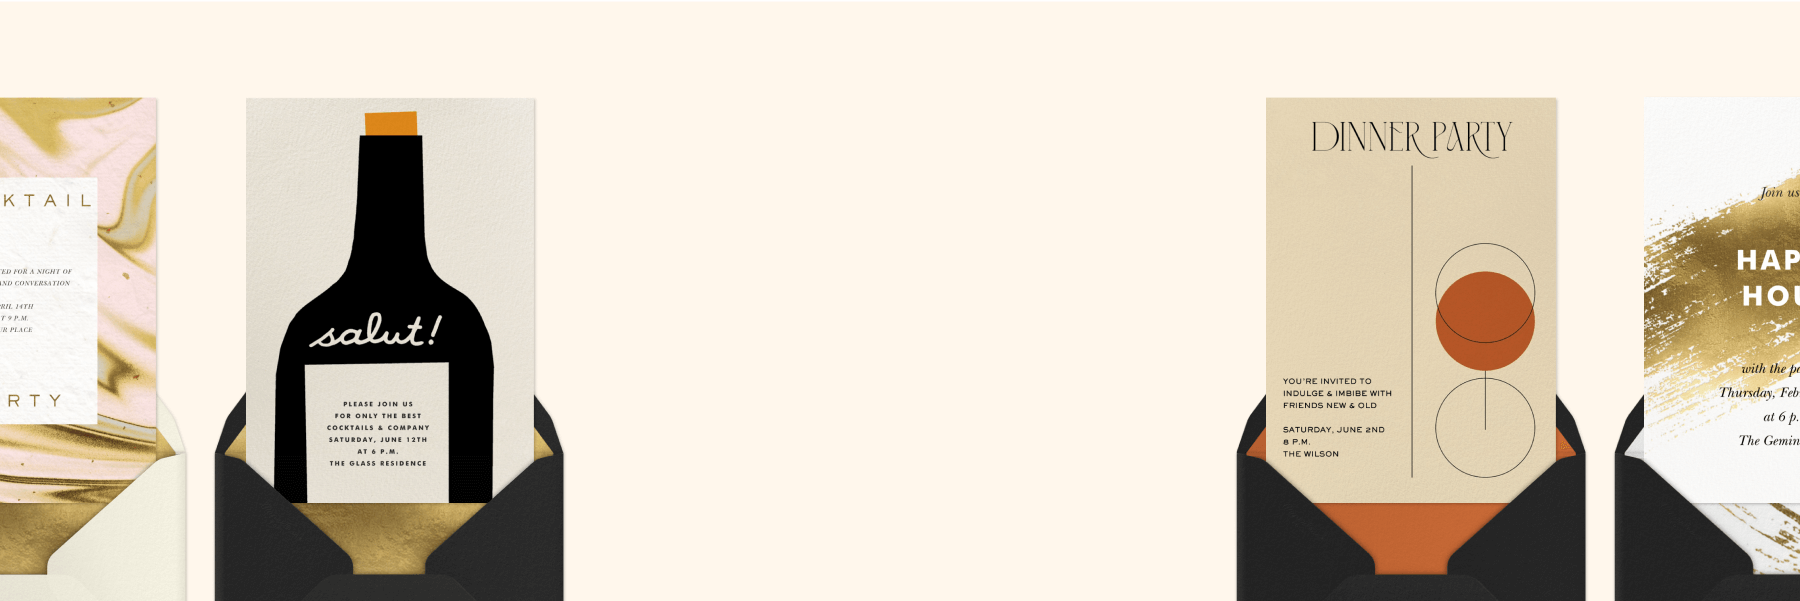
Once you’ve decided whether you want to send your guests stationery-inspired Card invitations or a fun Flyer invite, you can browse designs by theme and event type. Use our comprehensive filters and keywords to sort through the designs and styles that fit your party most, and don’t forget that you can customize them more later on.
2. Add photos, GIFs, and more

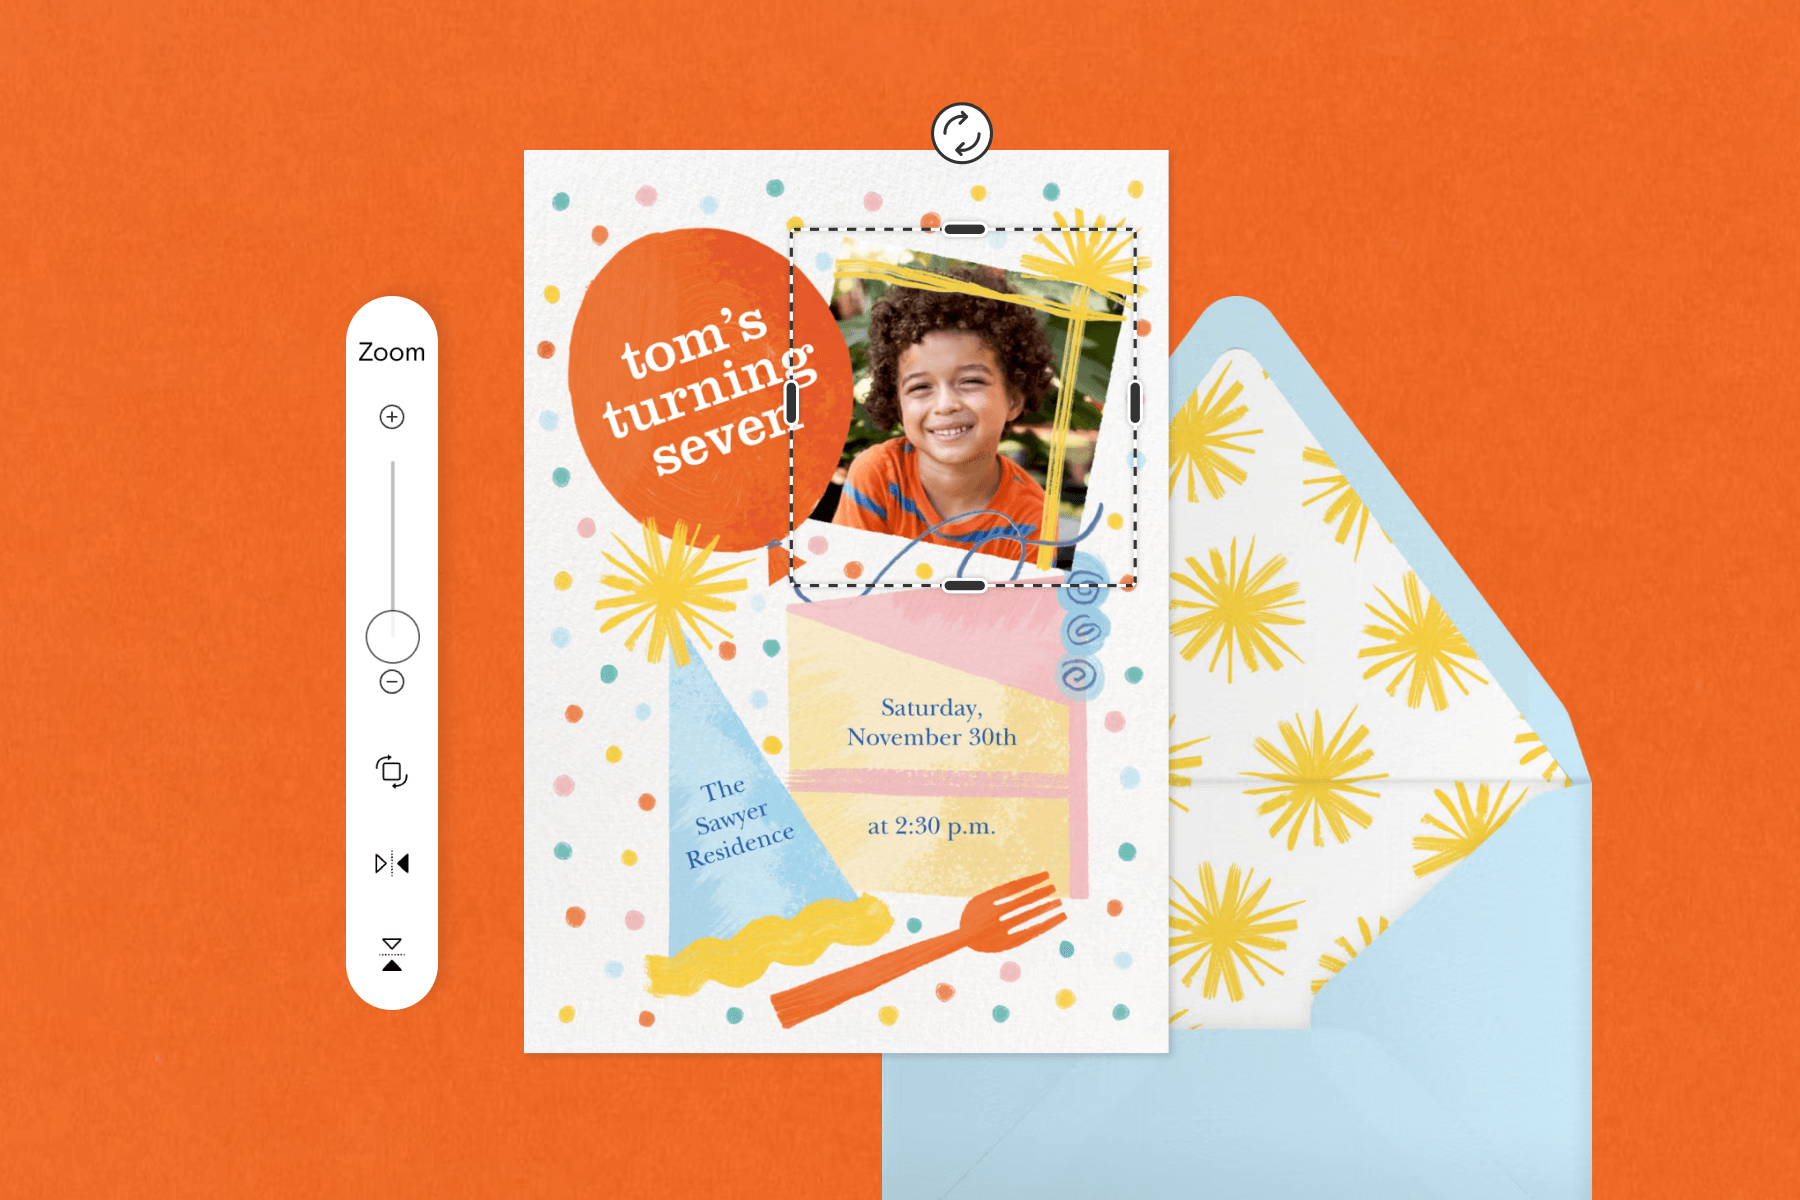
Whether you’re planning a birthday party, a graduation party, or sending out save the dates, adding a photo (or multiple!) to your Card is a surefire way to make it feel super personal. Simply look for templates that are specifically formatted to showcase pictures. When you choose a Flyer template, you can also upload your favorite photo, GIF, or video clip, and play with photo filters and effects.
3. Send in the stickers

Once you’ve added your photos, make your invitation fun and unique with cute stickers. You can use our pre-designed stickers, or upload your own to add anywhere on your Card. If you’re customizing a Flyer, you can also browse the GIPHY search box and add animated stickers. From kids’ favorite characters from movies, books, and television to pop stars, memes, and more, adding animated stickers from GIPHY will bring your design to life in a whole new way.
4. Toy with your text

After filling in your party details, help them stand out with customizable text effects that make any online invite truly your own. Add fun new Magic Fonts to both Cards and Flyer invites that let you play with 3D and rainbow elements, as well as animation on Flyer. By the way, you can add multiple text boxes to each Paperless Post invitation—so you don’t need to skip any information (or inside jokes).
5. Don’t forget about color
Show off your business, school, or team colors on your invitations and envelopes. Use our Custom Color feature, where you can use an eyedropper tool or input hex codes to make your text the exact right shade. You can also change the font of the words you add to your invitations and add or remove text boxes until everything looks just as you envisioned.
6. Put a stamp on it
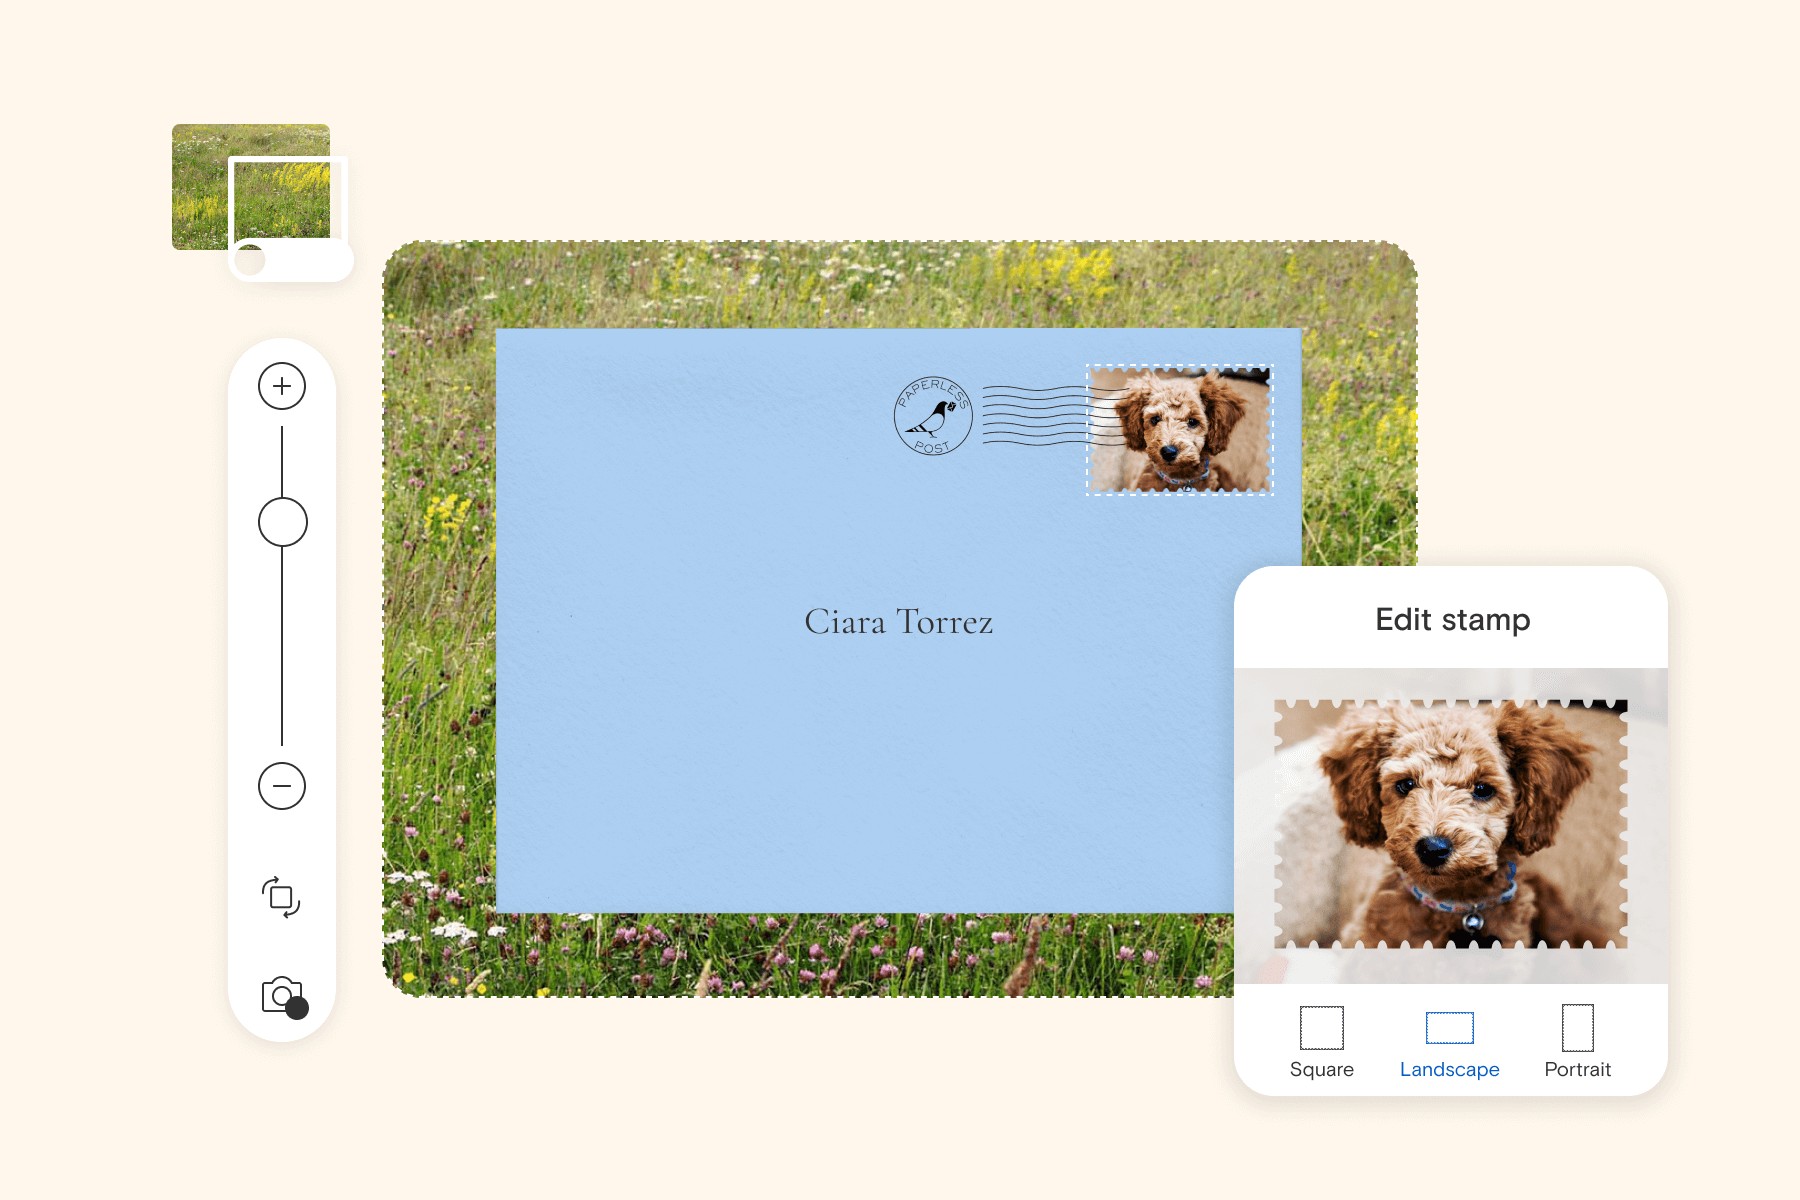
Why make your guests wait until the envelope opens to see how thoughtfully customized your invitations are? Personalize their first look by uploading your own “postage” stamp using your favorite picture or logo. It’s the perfect way to highlight engagement photos on a wedding invitation, a school mascot for a graduation party, or a business logo for a professional event. You can also upload your own photo to use as the backdrop for any Card.
7. Bring on the Blocks

After customizing your invitations to such a beautiful extent, the last thing you want to do is clutter them up with details about your party. But a party without details is just a good idea without any legs. So what’s the solution? Blocks! Blocks are a more visually appealing way to include event details, below your actual invitation. You can use as many or as few as you want, and they can provide your guests with all the information they need to know. Add a schedule of events, Google Map-enabled locations, link to registries, upload photos, request input on a playlist, and so much more—all without compromising the design of your invitation.
8. Dress up your details with Page Styles
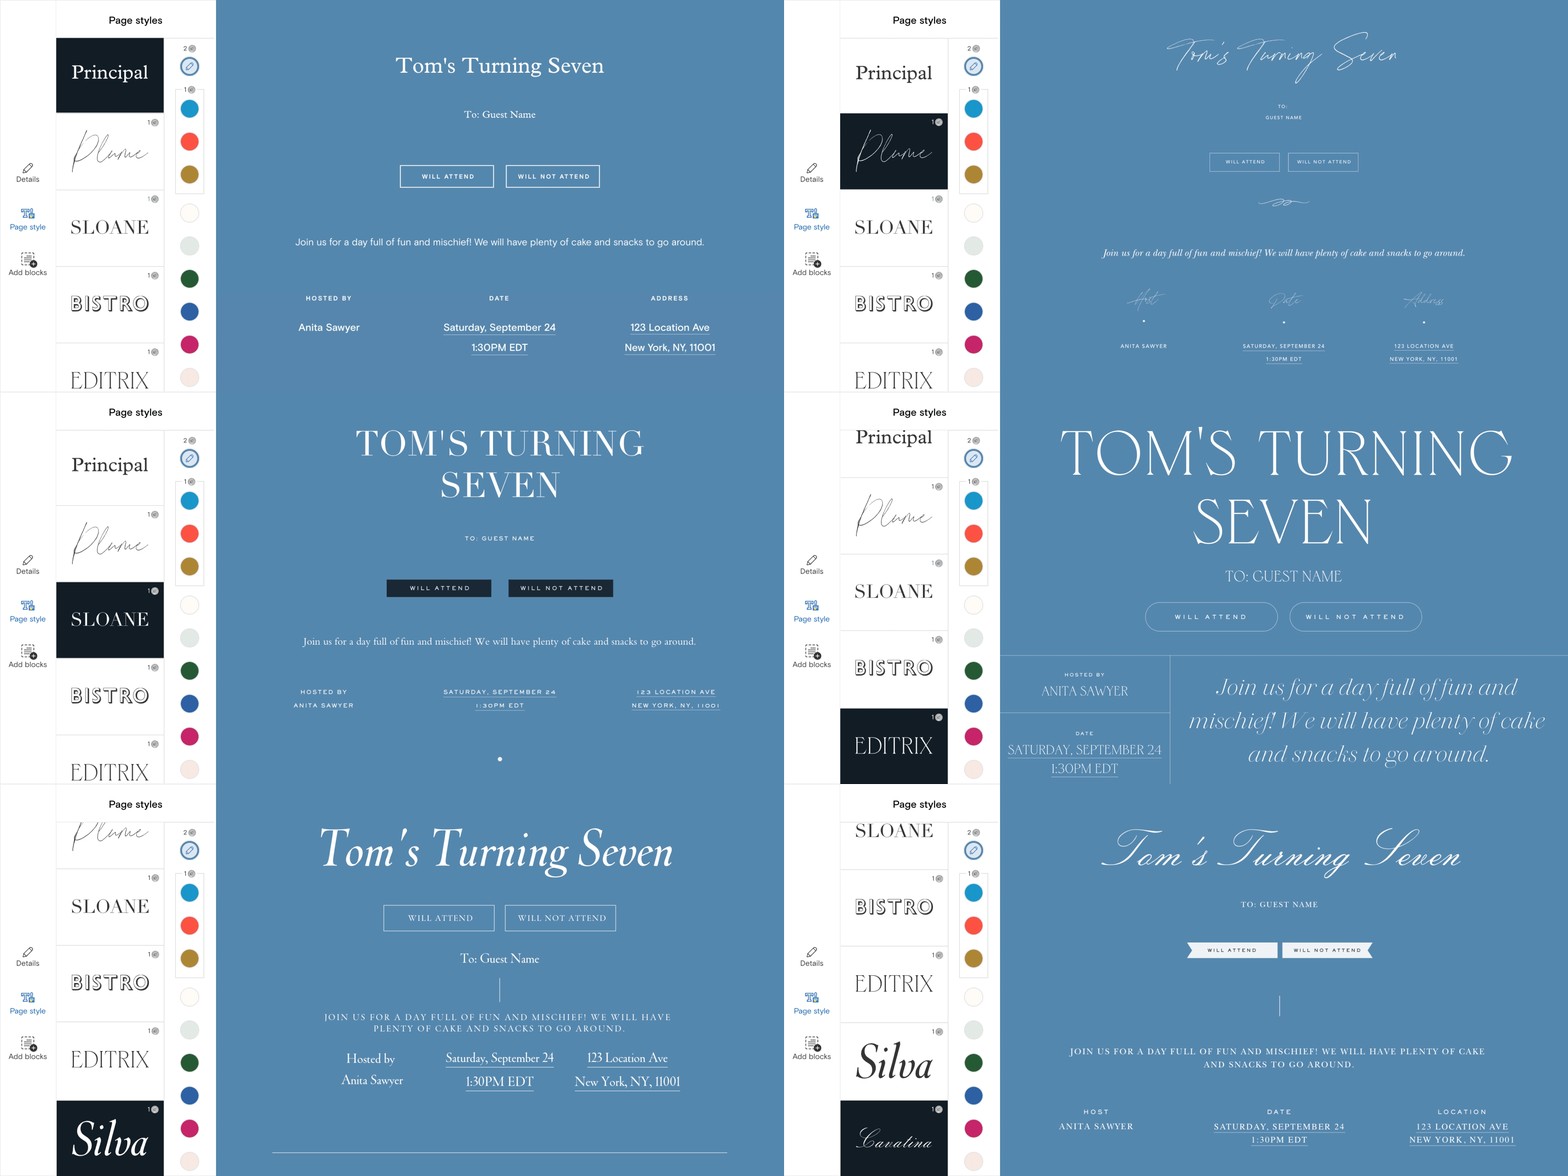
Once you’ve added all the Blocks you want, customize them (and the rest of your page!) even further using Page Styles. With just a single click, you can change the look, formatting, and vibe of your event details to match the vibe of your event. Check them all out before hitting save—you never know which Page Style might end up being your favorite.
9. Gain insights from your guests
You can plan all you want, but in the end, it’s the people who really make the party. Ensure you’ve properly prepped for their attendance with convenient Paperless Post features like Guest Questions and Comment Walls. Guest Questions are a seamless way to ask guests about their preferences, availability, and more while they’re on your Event Page looking at your invitation. (To ask easy multiple-choice and checkbox questions—as well as access Premium Blocks like Photo Album and Video—upgrade your invitation to Paperless Post Plus.) Hosting a potluck? Enable the Comment Wall, where guests can post whatever they’re contributing to avoid people bringing multiples of the same meal. Funny personal anecdotes and photos are always appreciated, too.
10. Get some help from the pros
If, after all these tips, you *still* want some extra help crafting the perfect invitations… you’re in good hands. Contact Paperless Post’s Personal Design Services team to bring your vision to life. From custom watercolors and line drawings to inputting different alphabets and adjusting the colors on existing designs, they’ll work alongside you on one-of-a-kind invitations you’ll treasure forever.
Host confidently with Paperless Post
Whether you fall in love with one of our best-in-class designer Cards as-is, or you prefer to mix things up with a customizable Flyer invite that matches your exact aesthetic, Paperless Post is the place to find beautiful, memorable online invitations with features you won’t want to host without.
All Paperless Post invitations—whether they’re Cards or Flyer invites—include instant RSVP tracking and guest messaging, host-to-guest questions, kid vs. adult headcounts, informational Blocks, and more. No more getting lost in the mail, no more return-to-sender, no more wondering whether your recipients have opened your invitations (you’ll see it instantly!). Sure, the term “game changer” is sorely overused. But… what about when it’s true?
The next time you host, do it smarter and more confidently with Paperless Post.
Whatever the occasion, find exclusive designs to suit your style and make planning a breeze.