How to make a wedding website with Paperless Post
Now that you’ve said “yes!” to your partner’s big question, the two of you have some exciting planning to do—and what better way to share information and communicate with your guests about your upcoming nuptials than with a wedding website?
A wedding website is an essential tool for organizing event details, sharing important info about your celebration, and getting guests excited about your big day, all in one convenient place.
For the most streamlined experience possible, we recommend creating your entire wedding website right on the same event page as your Paperless Post wedding invitations. This way, your guests can view your invitation, RSVP, and receive updates from you all in one place for total convenience. Find out how to make a wedding website with Paperless Post by following this easy guide.
Table of Contents
Benefits of a wedding website
Provide all your event details
When you send online wedding invitations with Paperless Post, you’ll be able to build your wedding website right into your event page to create a one-stop shop for your guests to refer back to for everything they need to know leading up to the big day—from the wedding’s date and time to things like dress code, registry links, hotel block information, and more.
Get an accurate headcount
Your Paperless Post wedding website will also provide a quick and stress-free way to collect an accurate headcount in advance, leaving no chance of anything getting lost or delayed in the mail. Guests will simply RSVP via Paperless Post, allowing you to track everything in real time.
Share more with guests
With a Paperless Post wedding website, you can share as much information, details, and fun tidbits as you want with your guests, without cluttering your wedding invitation design. And with Paperless Post’s helpful Blocks, you’ll be able to include everything in an organized and visually appealing way, like a gallery of photos, travel info, a schedule of events, and so much more.
Simplify follow-up communication
Another benefit of creating a wedding website with your Paperless Post invitation event page is that it allows you to streamline and simplify your follow-up communications with guests. You’ll be able to message guests directly or send broadcast messages leading up to the big day, updating everyone with details or reminders.
How to make a Paperless Post wedding website
1. Finalize your plans
Before you can begin sharing exciting wedding information with your guests through a wedding website, you’ll want to ensure all the relevant details are set and ready to be communicated. Ideally, your guests will already have marked their calendars when you sent out your wedding save the dates, so now it’s time to figure out exactly what to say on your wedding invitations and what the pertinent details are that everyone will need to know. Of course, there will still be some details up in the air—your guests don’t need to know who your florist is, for example—but you’ll want to finalize and compile all the need-to-know information, including:
- The date and time of your wedding
- The location of your ceremony and reception
- Dress codes, if any
- Whether children are invited to your event
- Where you have wedding gift registries set up
- Accommodation information for out-of-town guests
- Hotel and travel information for destination weddings
- Driving directions and parking information
- A schedule of the day’s events
With Paperless Post, you can send along all of this information in a simple, organized way with helpful Blocks on your event page, which we’ll cover later.
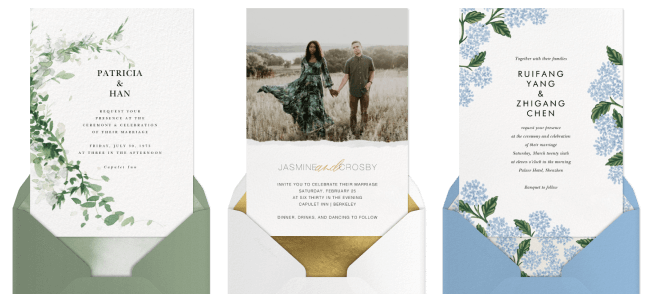
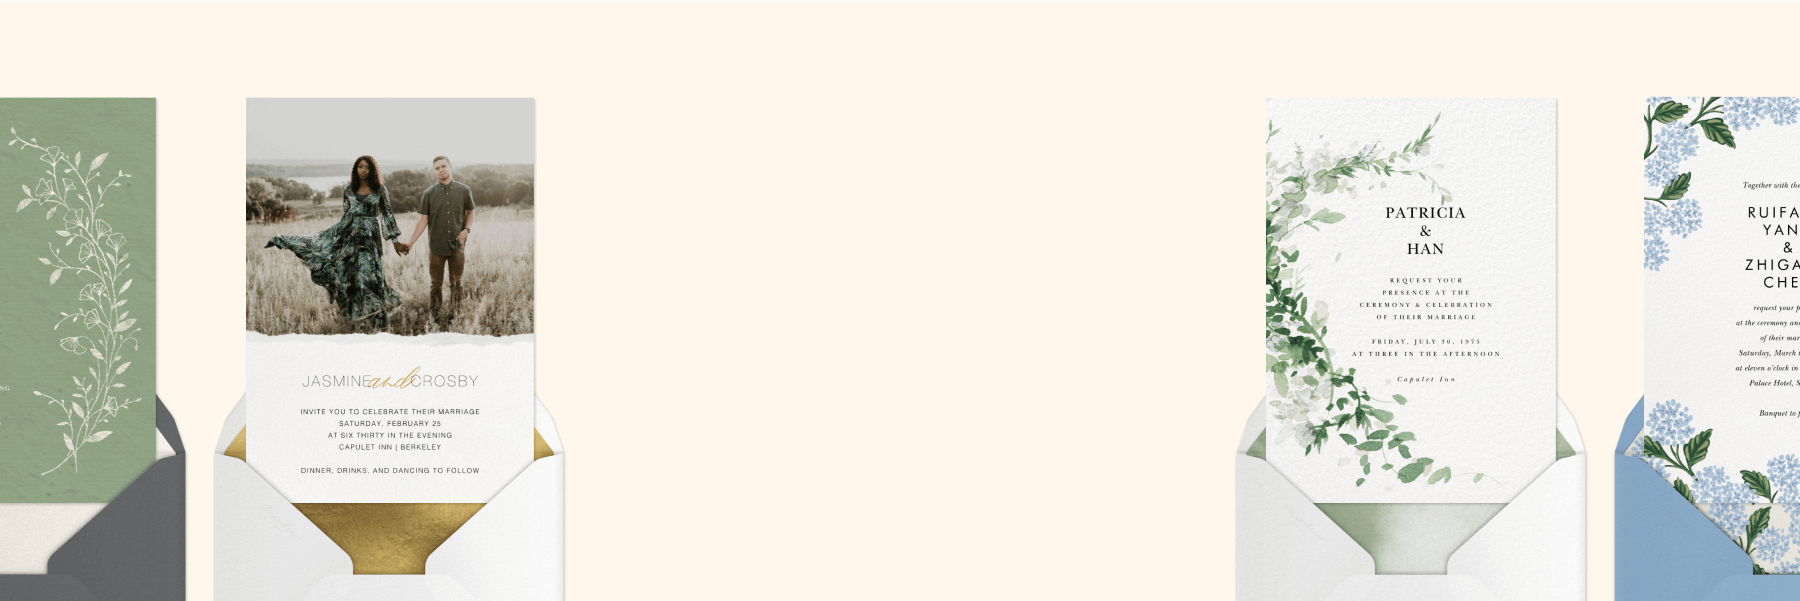
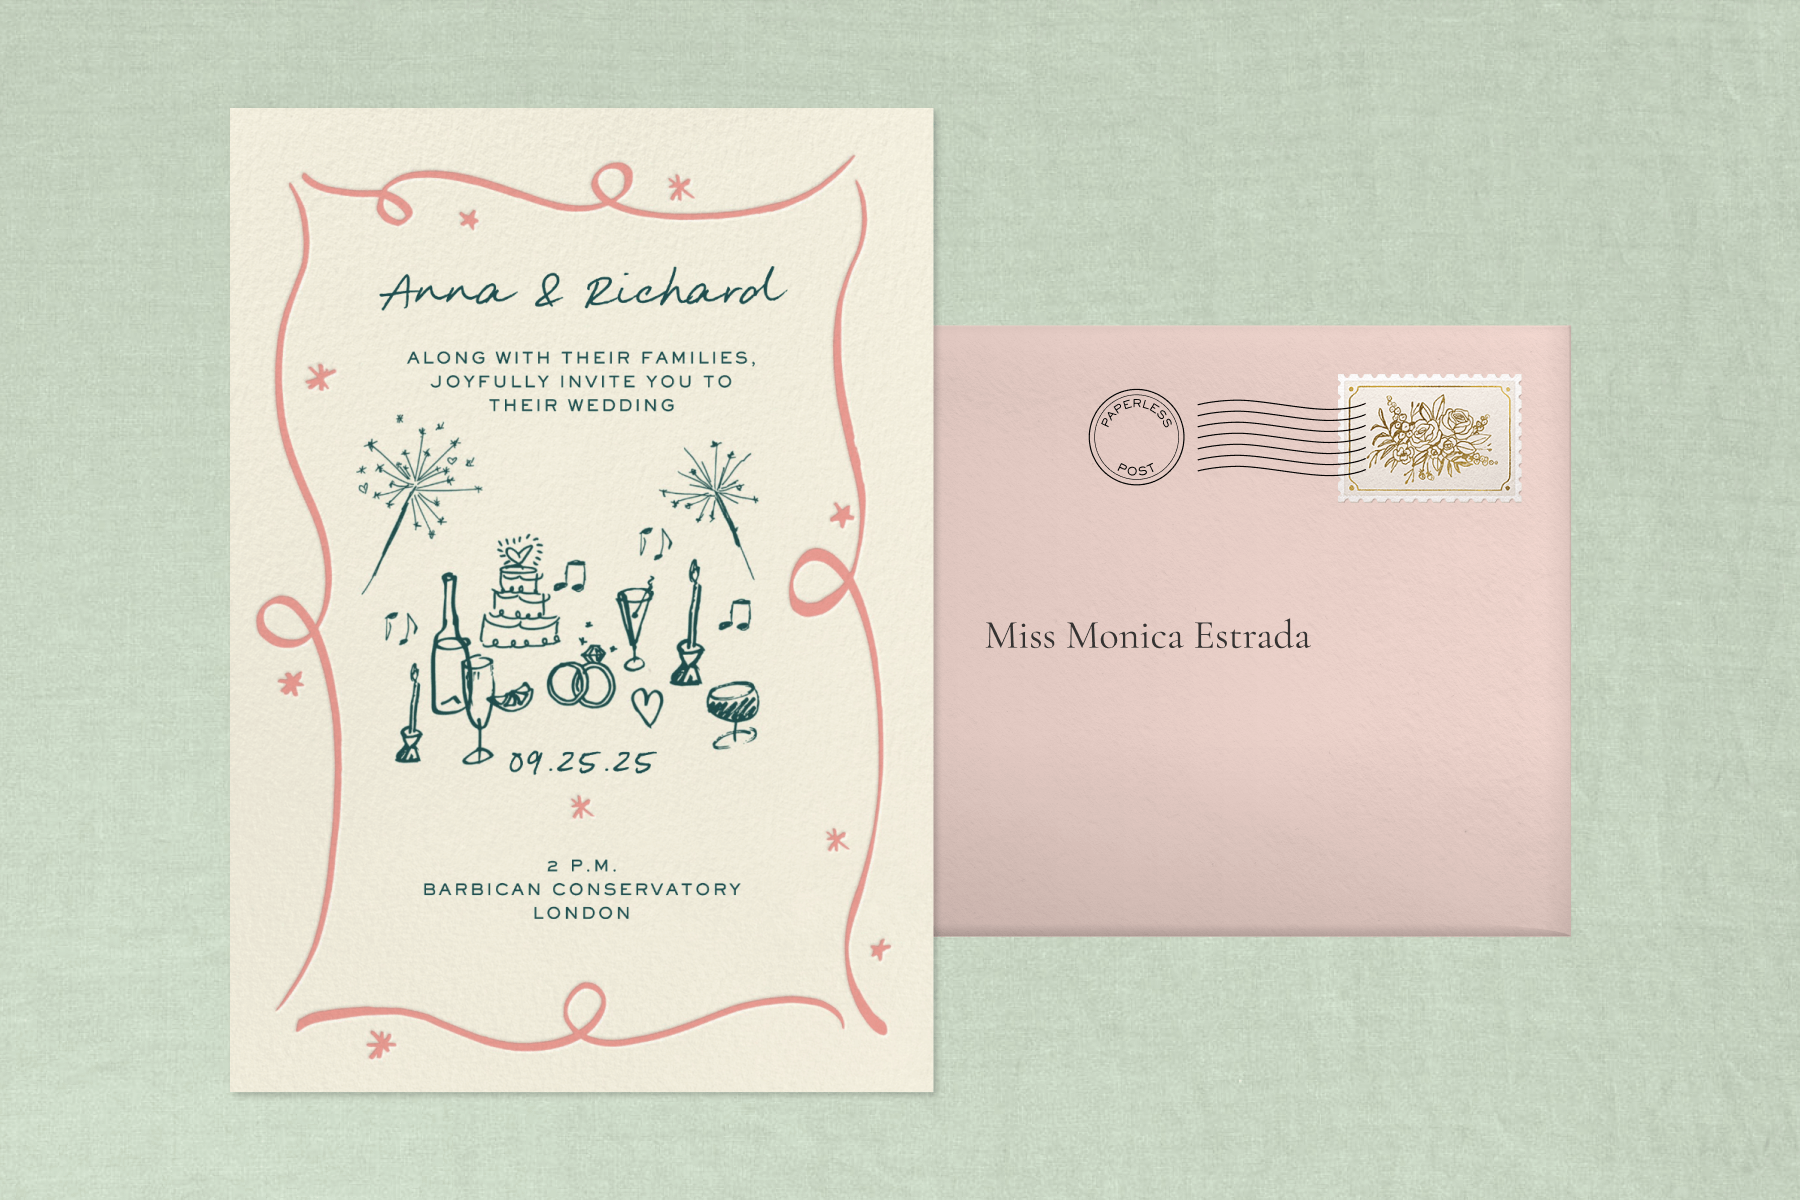
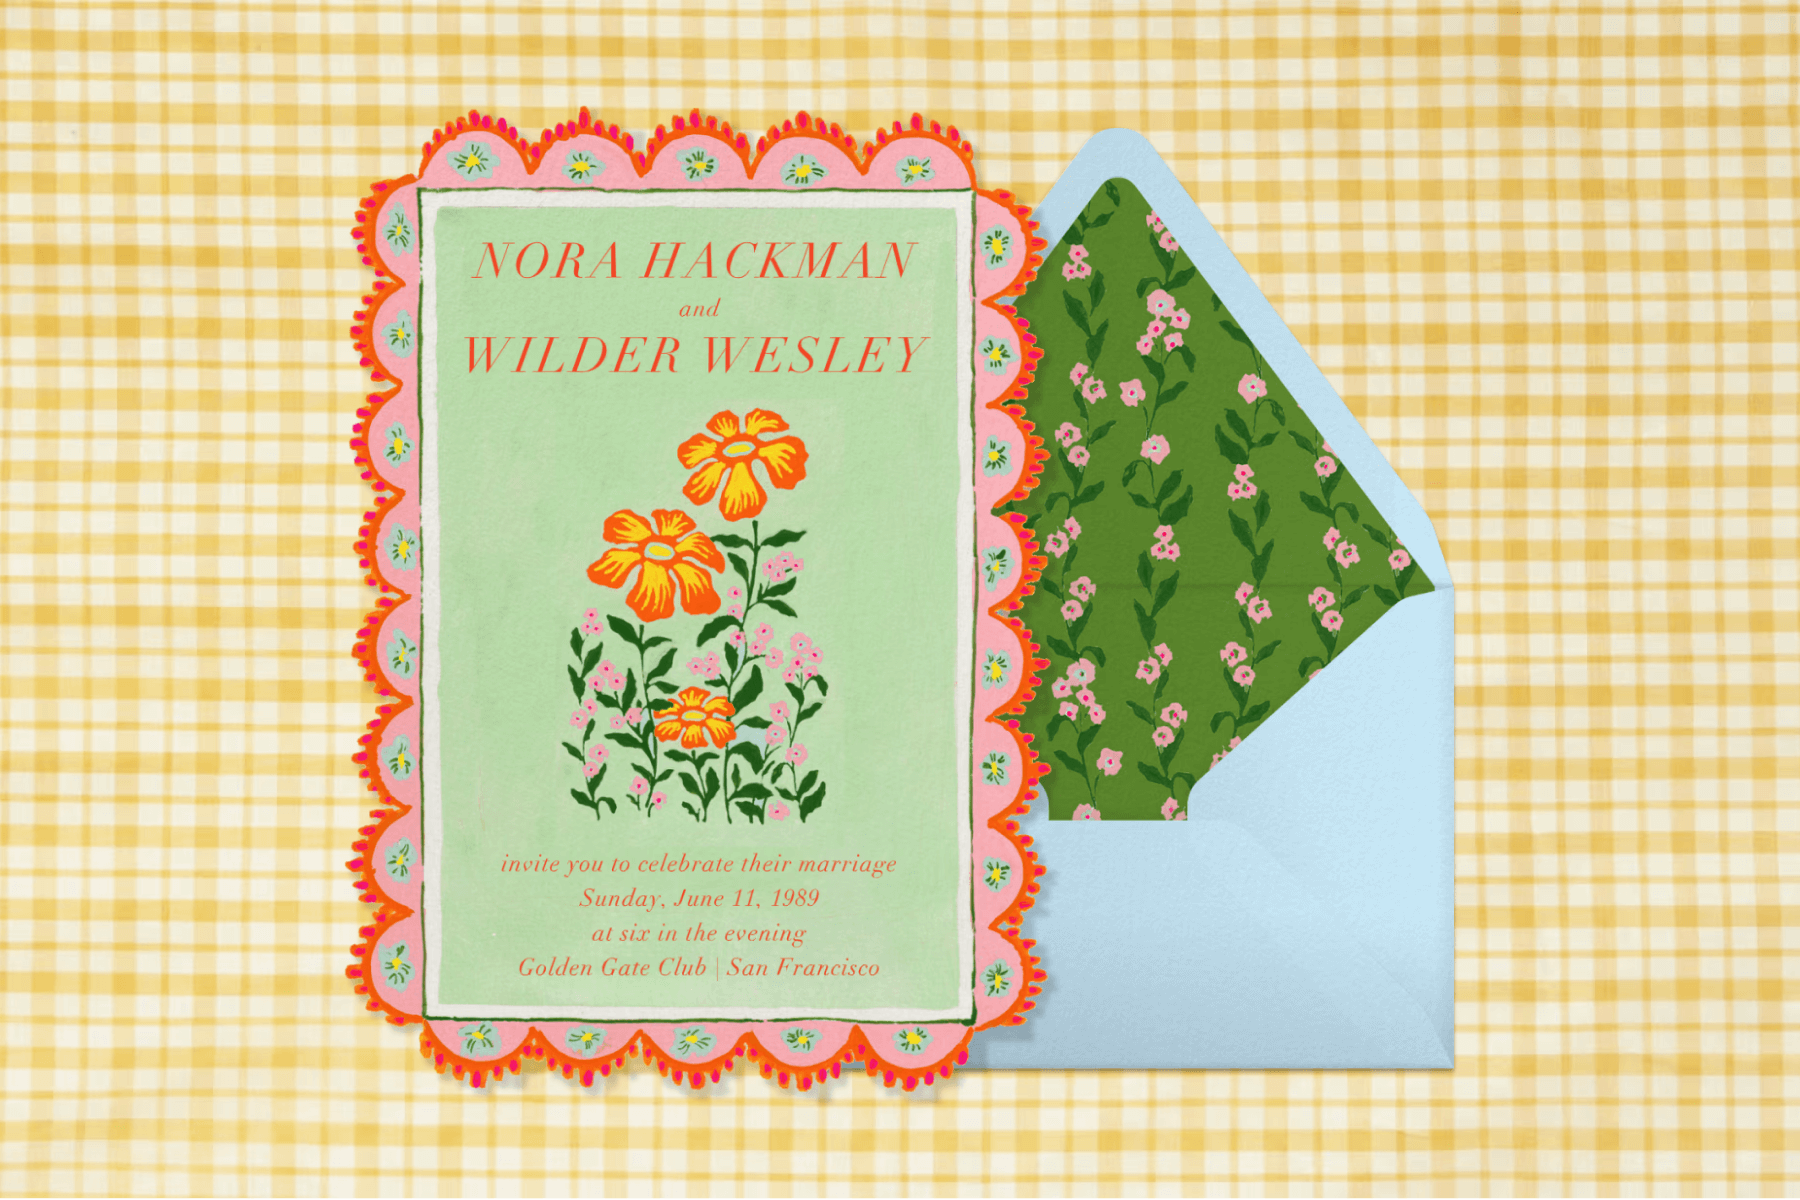
2. Choose your wedding invitation
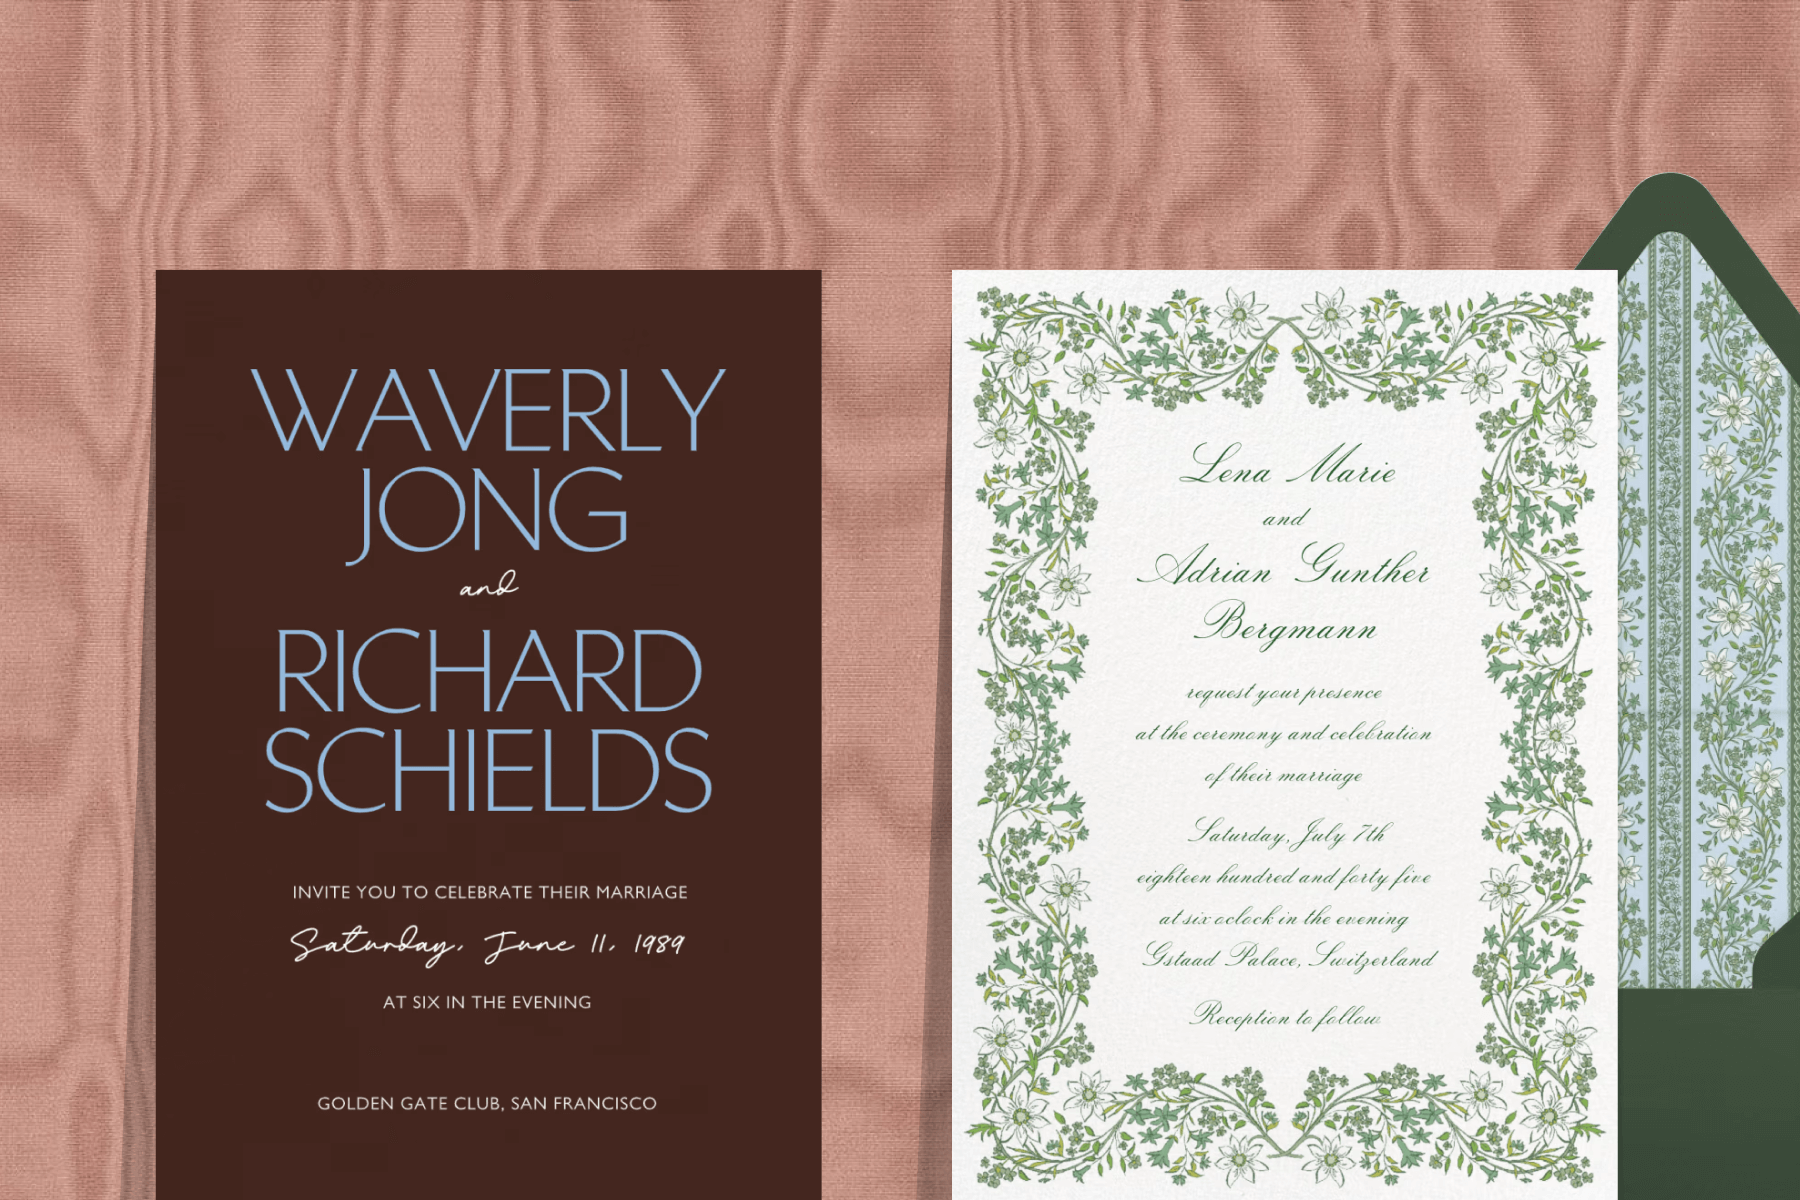
With Paperless Post, your invitation and wedding website serve as a one-stop shop that guests can easily reference for information leading up to the wedding day. To conveniently share all your wedding details with guests, start by finding the perfect wedding invitation to represent you and your love story. Browse our expansive collection of wedding invitation designs to match any wedding’s style, season, and tone. Find everything from simple and minimal designs to invitations featuring classic florals and beyond. For a little inspiration, read our guide on the wedding invitation design trends we’re loving right now.
3. Add your details
Once you’ve found the perfect invitation, it’s time to begin adding all the details for your guests. Your wedding invitation itself is where you’ll include all the basics:
- The names of the couple getting married
- Optionally, the hosts (the couple’s parents or families)
- The wedding’s date and date
- Location of the ceremony and reception information
And as for everything else, you can save that for your Paperless Post wedding website!
If you have multiple wedding weekend events planned, it’s a good idea to mention only the celebrations that the entire guest list is invited to so that nobody is confused about attendance (or hurt by not receiving an invitation).
Events like a rehearsal dinner, where the list is usually limited to wedding party members and immediate family, should be kept off your wedding invitation or website, and should be addressed instead with a separate invitation.
4. Customize your invitation and envelope
Customize everything from your invitation’s fonts and colors to your envelope to create an invitation that feels like it was made just for you. Upload a monogram for an elevated touch, choose one of our pre-designed stamps (or personalize your own with a sweet photo of you and your soon-to-be spouse!), and choose a matching backdrop to create a cohesive and beautiful wedding invitation experience.
5. Create your event page
Once you’ve nailed the look of your invitation and envelope, it’s time to customize the event page that will double as a practical and elegant wedding website. Start by naming your event. Including both of your first names in the possessive form and the word ‘wedding’ is a classic option, or be as creative as you want.
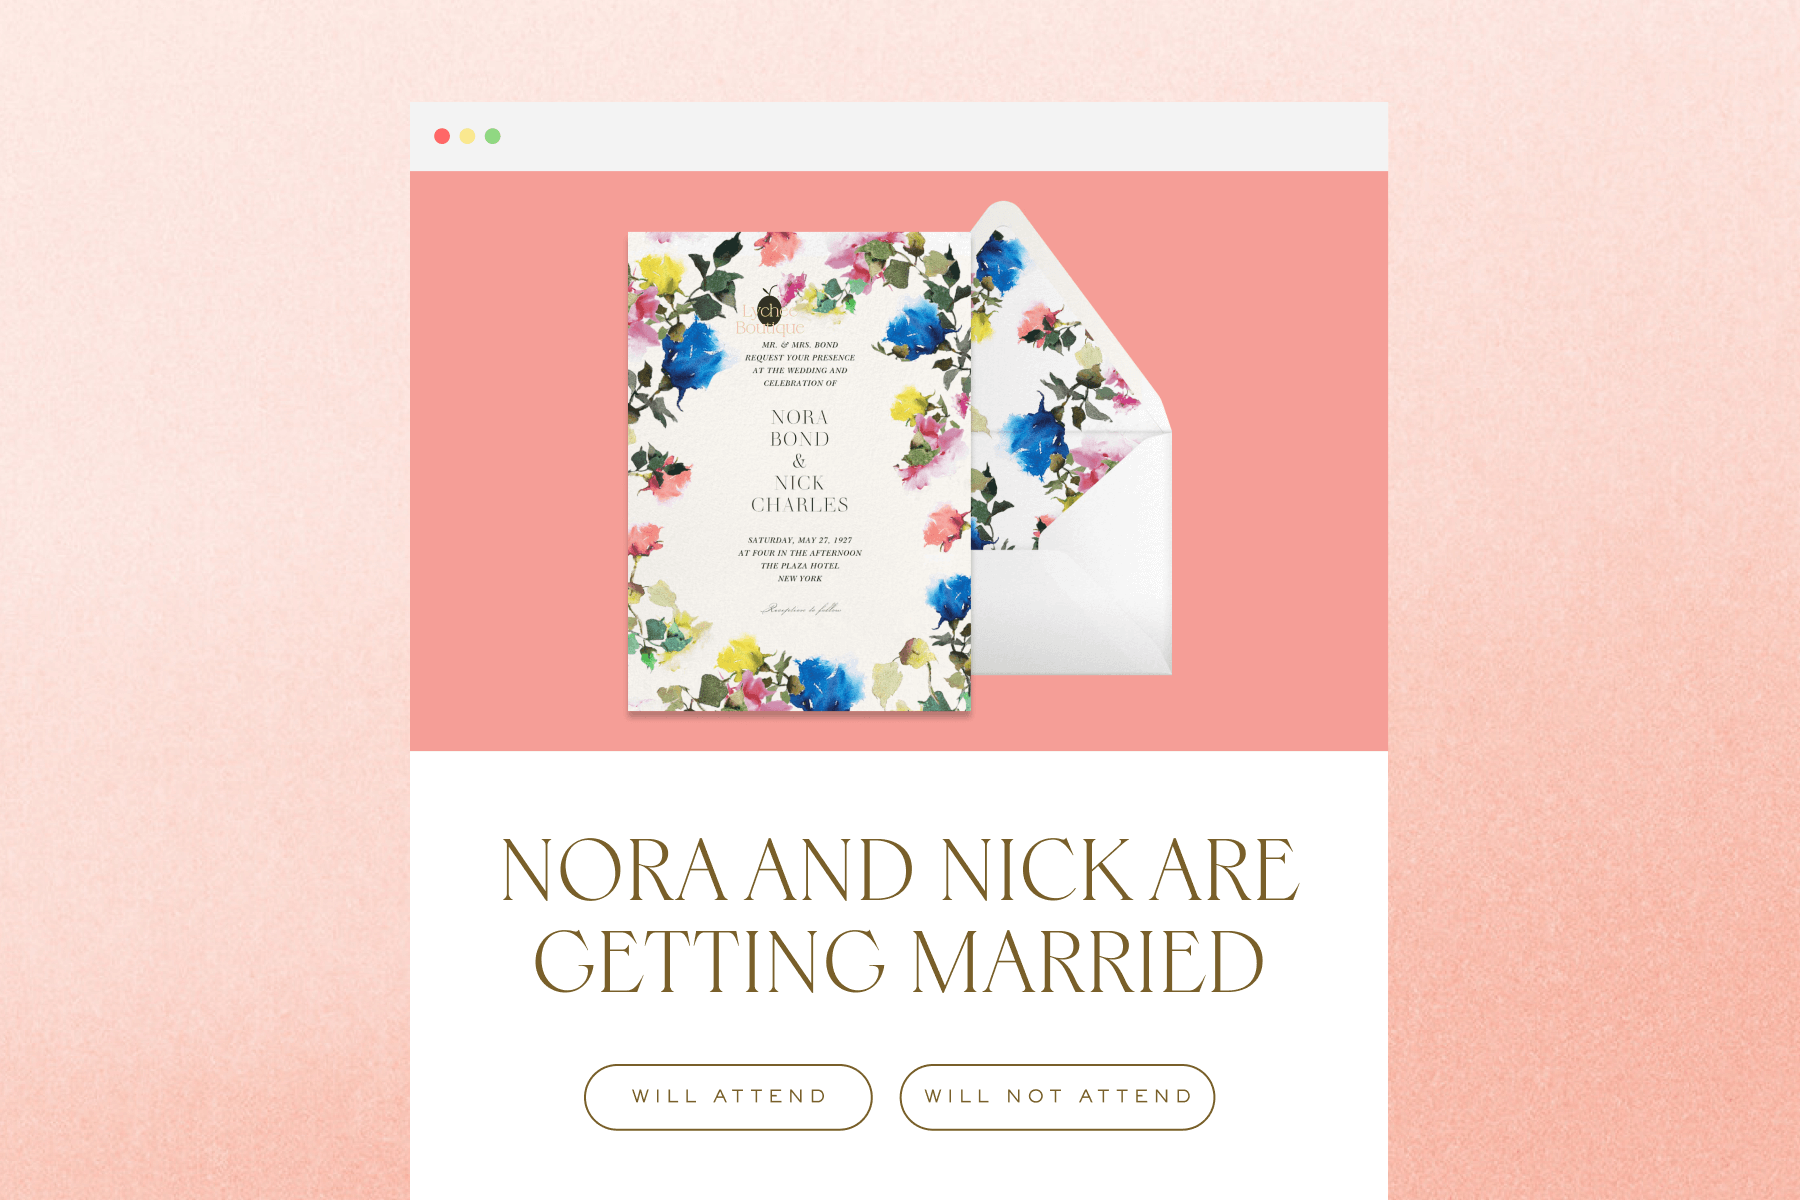
With Paperless Post wedding invitations, you can set an RSVP deadline to help with your planning, automatically closing the window to RSVP after a set date of your choosing. With wedding invitations sent out in a timely manner and our helpful tools, you’ll get an accurate headcount with enough advance notice to share all the necessary information with your vendors for a successful, stress-free planning experience.
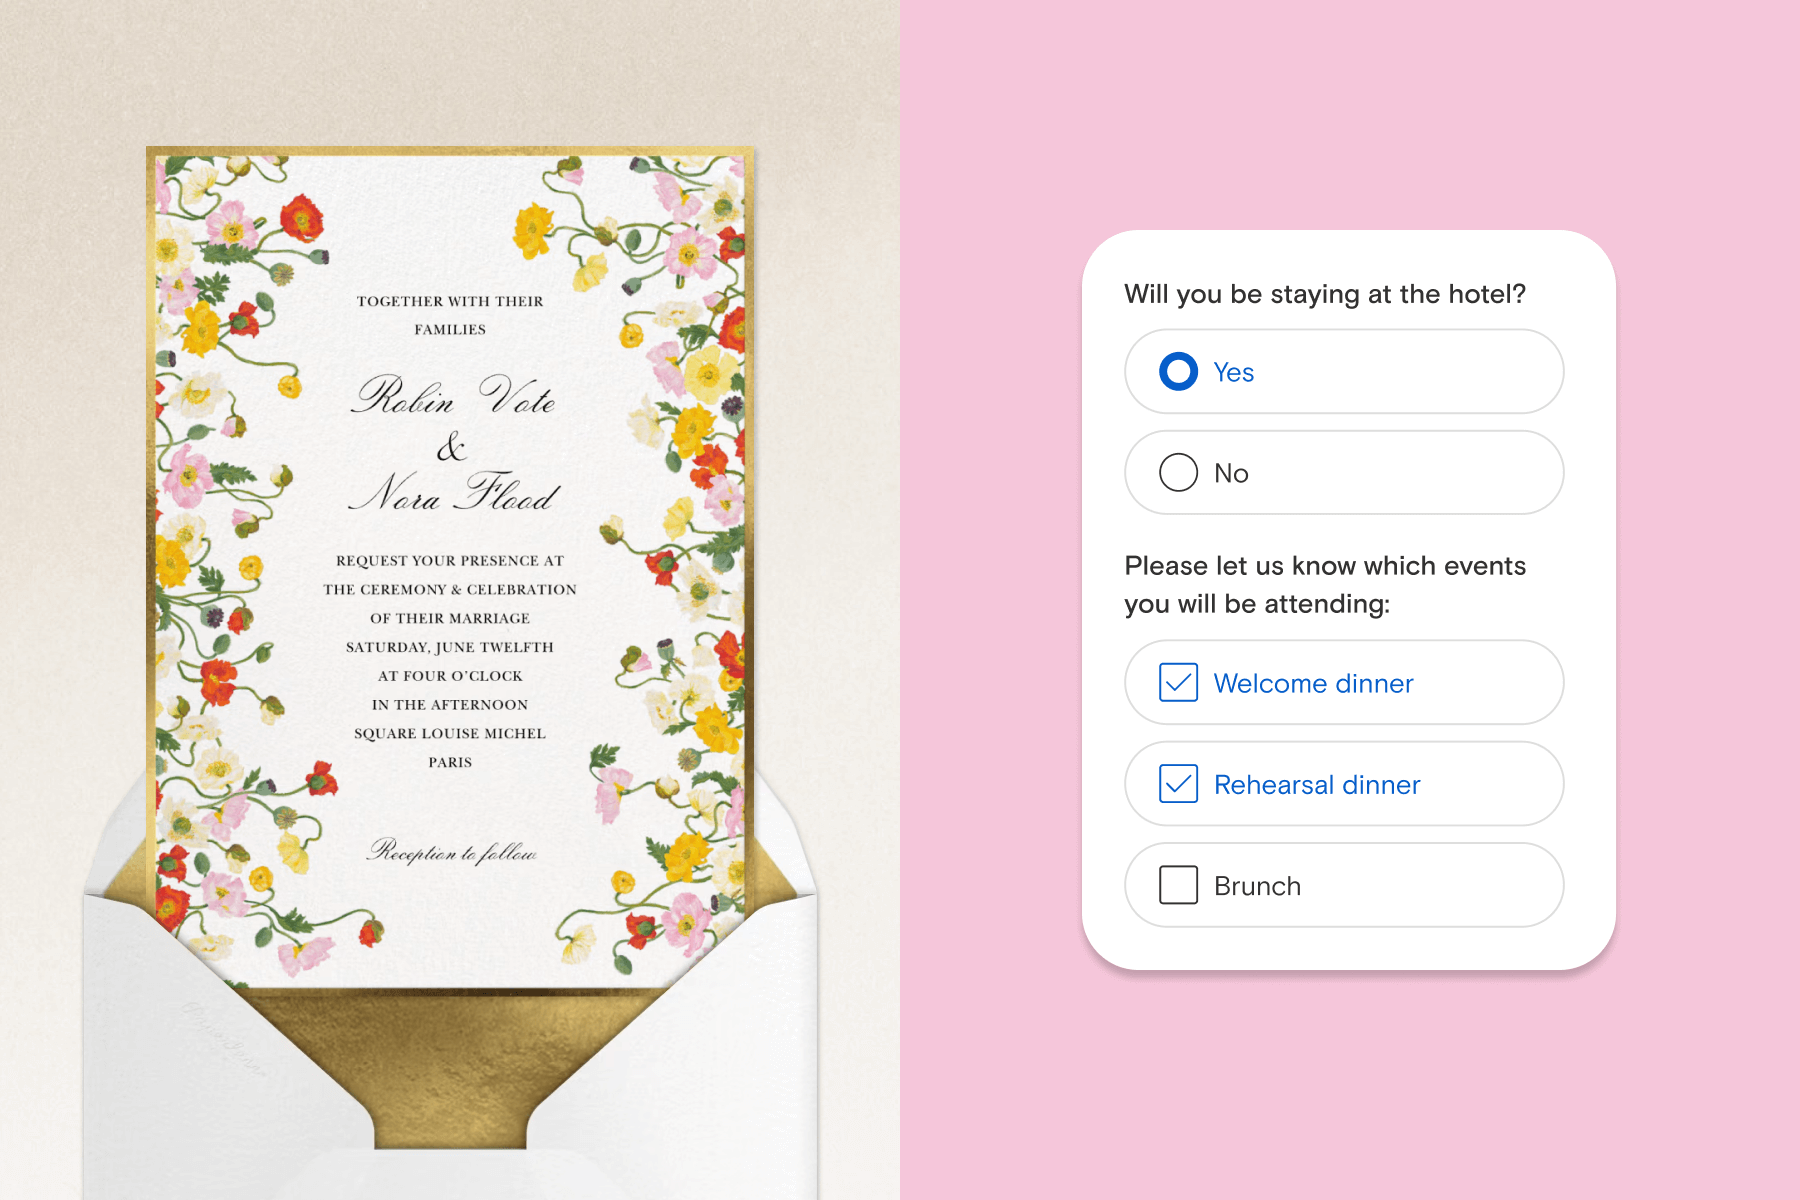
Enable Guest Questions with each invitation as well to collect helpful information like dietary restrictions, meal preferences, or whether guests will be staying for the Sunday brunch. If you want, you can enable a Comment Wall to be used as a guestbook feature. When guests RSVP, they can send you well wishes privately or publicly, and add photos of special memories together.
6. Choose a Page Style
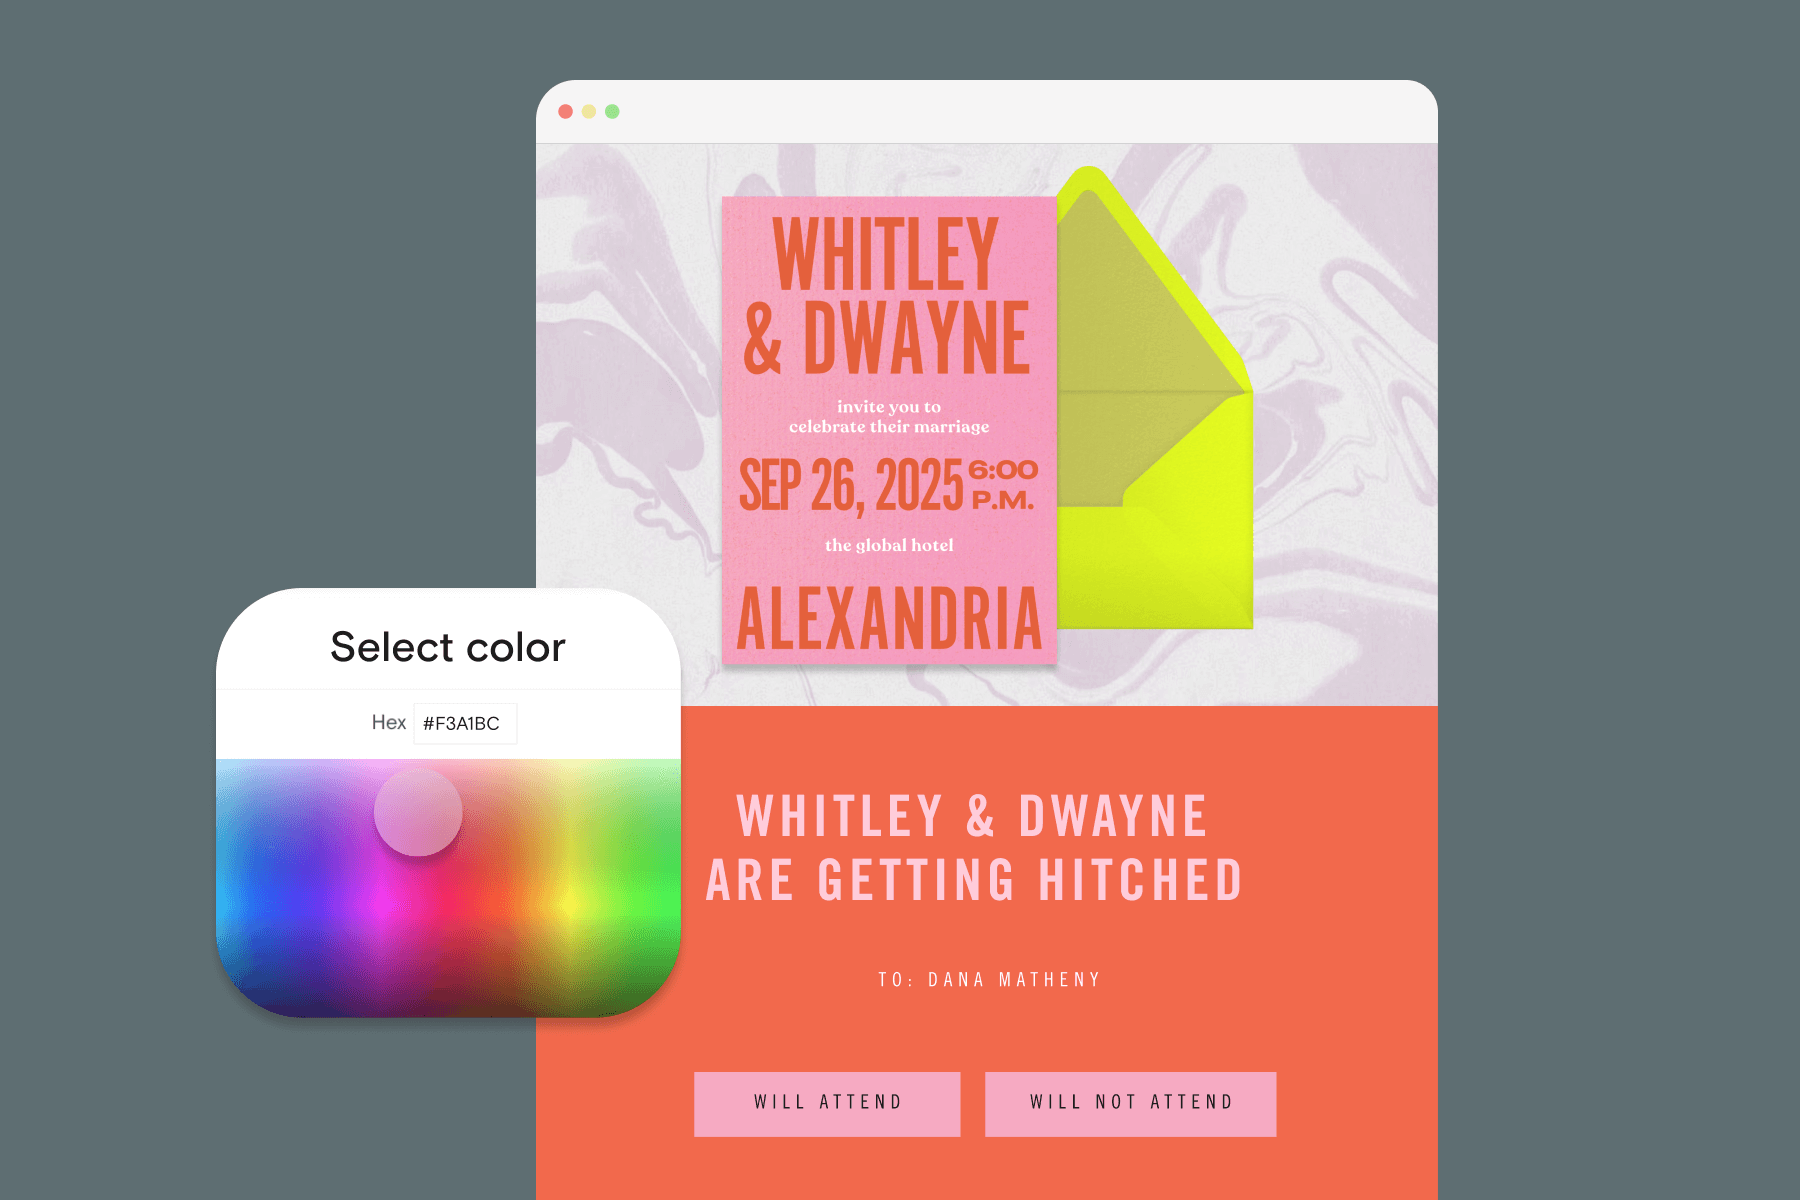
Your wedding website should look and feel as beautiful and on-theme as your wedding invitation. Select from one of our premade Page Styles in a range of complementary color palettes, fonts, and tones, from bold and modern to traditional and formal. You can also use our Custom Color feature to select a specific color using either a hex code or our color picker to find the exact right shade for your event page background. Our intuitive Paperless Post editing tools make it easy to create a customized-to-perfection wedding website, with no design or coding experience required!
7. Add more details with Blocks
Now it’s time to transform your invitation’s event page into an information hub with Blocks. Instead of cluttering your invitation with too many details or linking out to a whole different website, you’ll be able to add every single detail guests will need to know, all in one place.
Add a Details Block with information on dress code, directions, parking instructions, or whatever else you’d like to share with your guests. You can format this text to your liking and embed helpful hyperlinks as well.
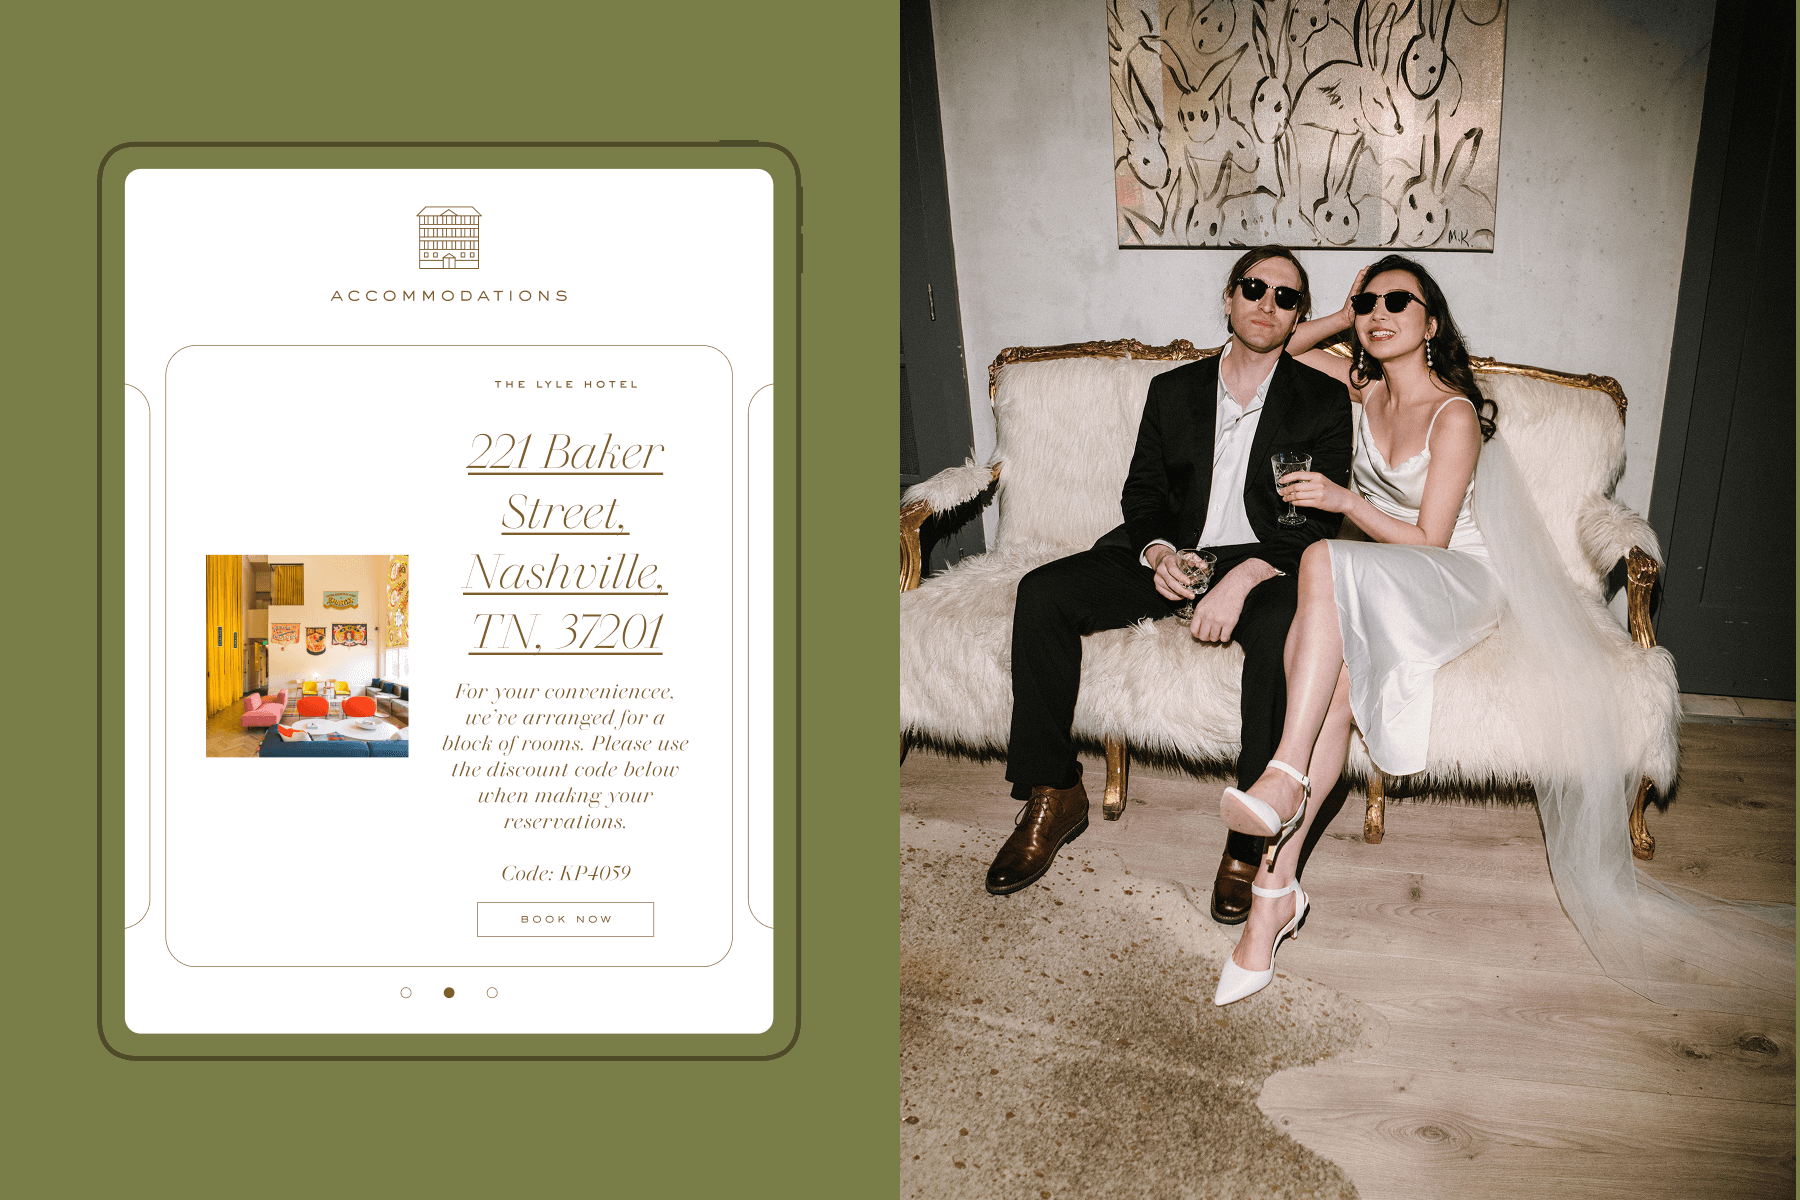
Include a Registry Block to share clickable links to one or multiple wedding registries anywhere on the web, along with any optional details about each one. Add a Schedule Block to share the full schedule of events for the day or weekend, along with start and end times for each wedding event. If you’ll have guests coming in from out of town, add an Accommodations Block with links, price ranges, details, and images of nearby hotels or other lodging options, as well as information about any pre-reserved hotel blocks and codes. Similarly, share a Travel Block with nearby airport or train station information, or other information on getting to your venue.
We also have a number of helpful Premium Blocks you’ll have access to when you upgrade your invitation to Paperless Post Plus or subscribe to Paperless Pro. Add a Photo Gallery Block to send along a sweet album of engagement photos or a visual timeline of your relationship, and a Wedding Gallery Block to introduce guests to your bridesmaids, groomsmen, or other important players of the big day, like your officiant.
8. Share your wedding website with guests
Once you’ve finished creating your invitation and setting up the wedding website event page that captures the spirit of your big day—and includes all the essential information for your celebration—it’s time to add your guests and decide how you’ll contact them: via email, text message, or shareable link. Create a memorable Custom URL with optional password protection for your Paperless Post wedding invitation and website to make it even easier for guests to refer back to it for any little detail as they look forward to the big day and make their preparations.
There are many ways to create your guest list. Add guests one by one, use a pasted list, or upload a spreadsheet and let our guest management platform do the rest. And if you need help addressing your wedding invitations, we’re here to help. Once your list is in place, choose how many people are included within each invitation (this is a great tool for giving plus-ones to specific individuals or sending one combined invitation to a family or couple).
And now, it’s time to share your Paperless Post invitation and wedding website!
9. Collect RSVPS
This one’s easy. When you use Paperless Post to plan your wedding, we take care of tracking RSVPs for you—so you can just sit back and enjoy watching all those RSVPs roll in for your big day. Our advanced Analytics view allows you to see your invitation deliveries, opens, and responses in real time with easy-to-read graphics.
Once guests RSVP, you can label them using our Guest Tags feature to help organize your planning details. Add tags that are only visible to you, such as “Vegan,” “Family,” “Wedding party,” “Table 6,” “Out of town guest,” or whatever else helps you keep everything in order.
10. Keep guests updated
Now that you know how to make a wedding website with Paperless Post, it’s easy to keep your guests informed of any changes or reach out to those who’ve yet to RSVP. Select “My Events” under your account on the homepage to go to your event page, and click “Messages & Reminders.” From here, you can send broadcast messages to all guests, as well as private messages to individuals. Download our mobile app to get that ping of excitement every time a guest replies!
Wedding website FAQs
How should I word my wedding invitation?
Deciding what to write on your invitations is easy with our guide to wedding invitation wording. Wording things as directly as possible is best to avoid confusion and misunderstanding.
How can guests let me know about any dietary requirements?
When finalizing your wedding invitation, you can enable Guest Questions in open-ended, multiple-choice, or checkbox-style formats that will automatically be sent to guests to gather any dietary restrictions or special requests they may have when they RSVP, like requests for gluten-free or vegetarian options.
How far in advance should I create my wedding website?
Start creating your wedding website any time before you deliver your wedding invitations, which should be sent out at least 6-8 weeks in advance of your wedding. If you’re having a destination wedding, however, the wedding website and invitations should be finalized and sent out further in advance, at least 4-6 months before the wedding.
How do I edit the details of my wedding website?
Log in to Paperless Post, and you’ll see a drop-down menu appear when you hover your cursor over your name. Select “My Events,” and you’ll navigate to a list of your invitations and events. Clicking the three dots will bring up a menu where you can add more guests, change the design of your invitation, edit your invitation details and Blocks, and track RSVPs.
Share your wedding details in style with Paperless Post
Whether you’re hosting a spring garden wedding surrounded by fresh florals or a barefoot beach wedding in the Caribbean, invite guests to celebrate your love with the perfect invitations to match. Browse designs using our filters to coordinate your invitation to your wedding’s style, theme, color palette, season, or venue.
Choose elegant save the dates featuring your favorite romantic snapshot, and send engagement party invitations to kick off all the wedding celebrations. From announcing your upcoming nuptials to thanking guests for helping to make your big day special, Paperless Post is here to guide you through every step, with elevated designs and intuitive tools to make wedding planning a breeze.


Customizable designs from Oscar de la Renta, Rifle Paper Co., kate spade new york, and more.