Understanding Paperless Post Flyer
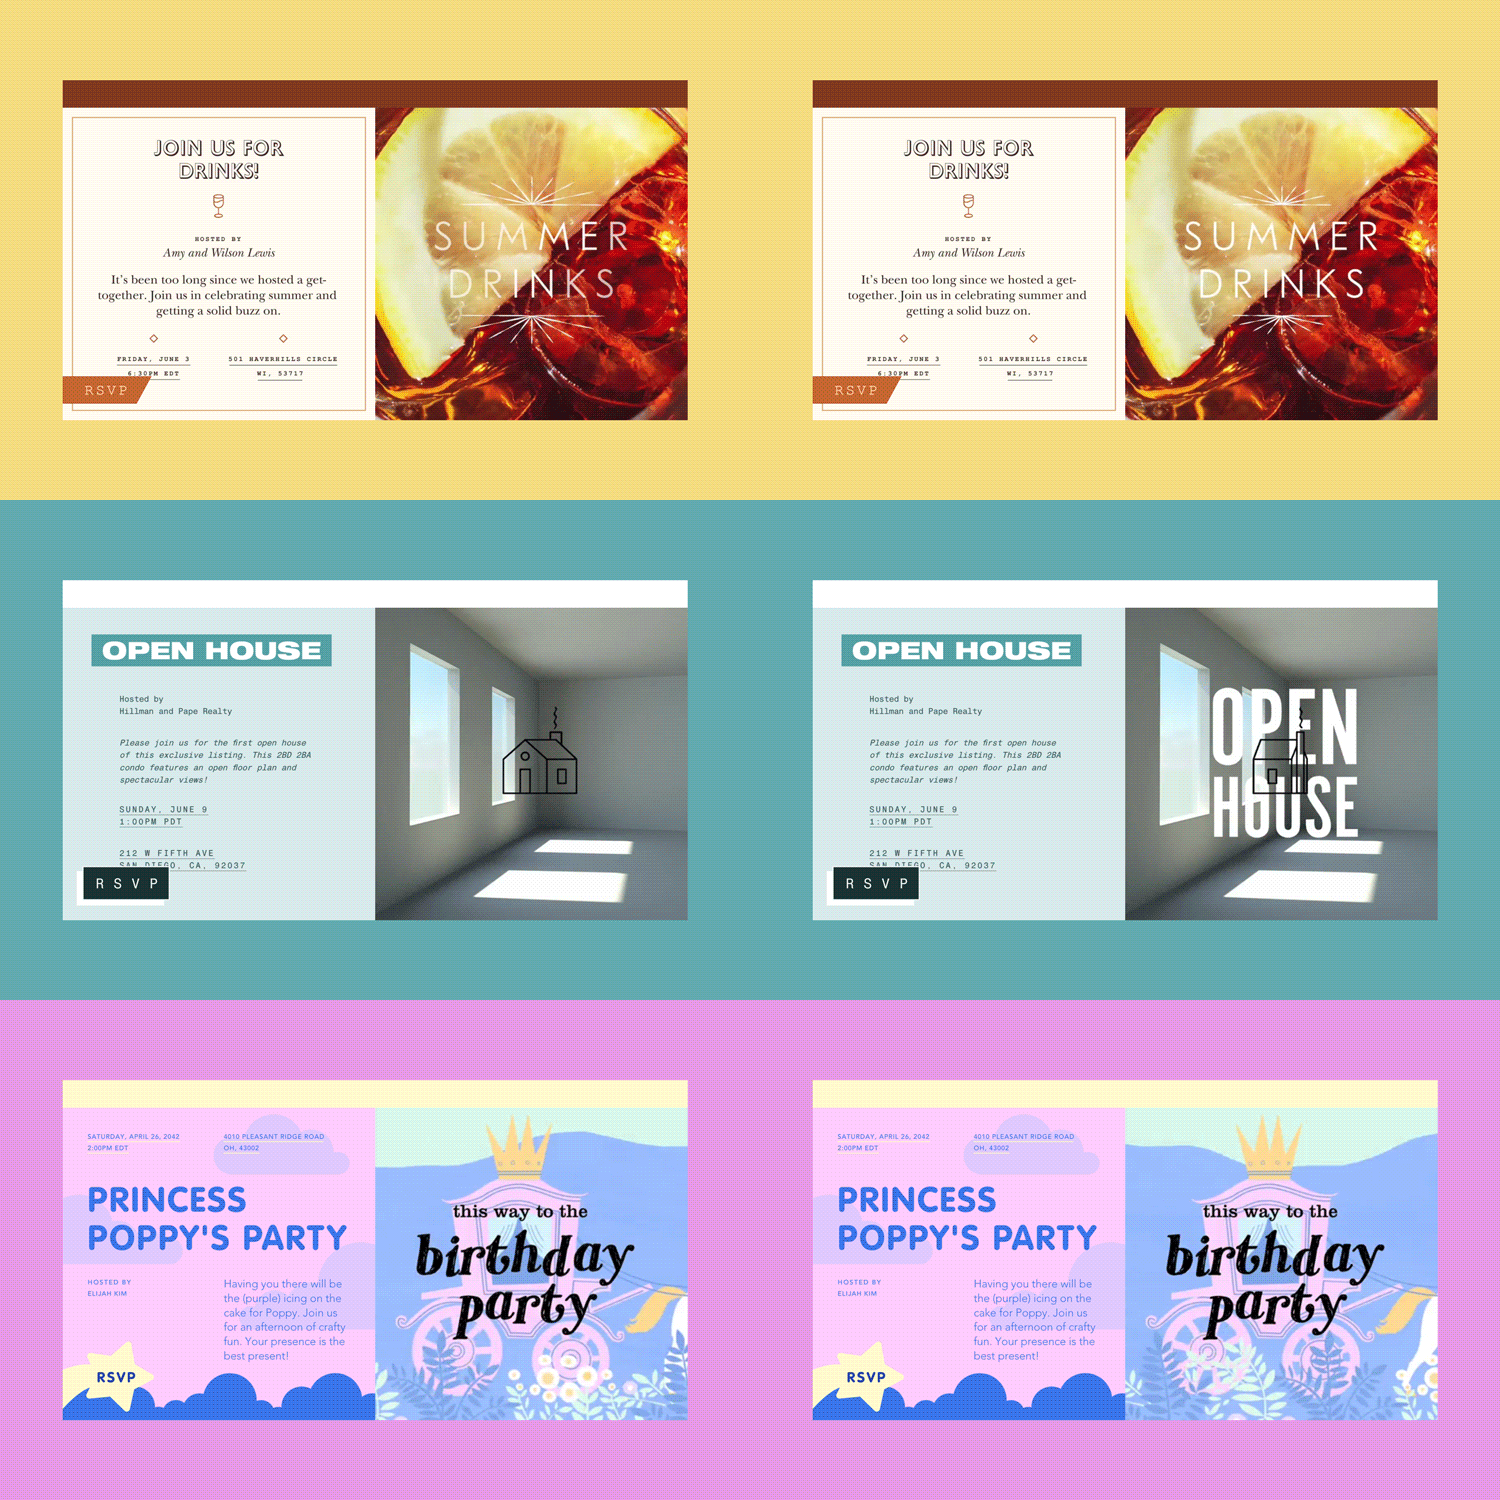
Paperless Post Flyers are unique, animated invitations that you can customize in minutes. Whether you’re planning a kid’s birthday party, a corporate event, or a wedding, creating a Paperless Post Flyer is quick and easy. In just a few steps, you can customize, edit, and send your Flyer invitation with confidence that everyone who receives it won’t want to miss the party.
Table of Contents
What is Paperless Post Flyer?
Paperless Post Flyer is an animated modern invitation template that lets you design an invite from scratch or choose from beautifully designed options that can be customized to match your style.
Flyers can be sent and shared via email, text, or shareable links on social media or messaging apps—any way that helps you get the word out!
After you’ve sent your Flyer out, our job isn’t over—Paperless Post is here for you throughout the entire event planning process! You can communicate with guests via broadcast or private messages, track RSVPs, organize guests into groups with tags, and more!
Paperless Post Flyer vs. Card
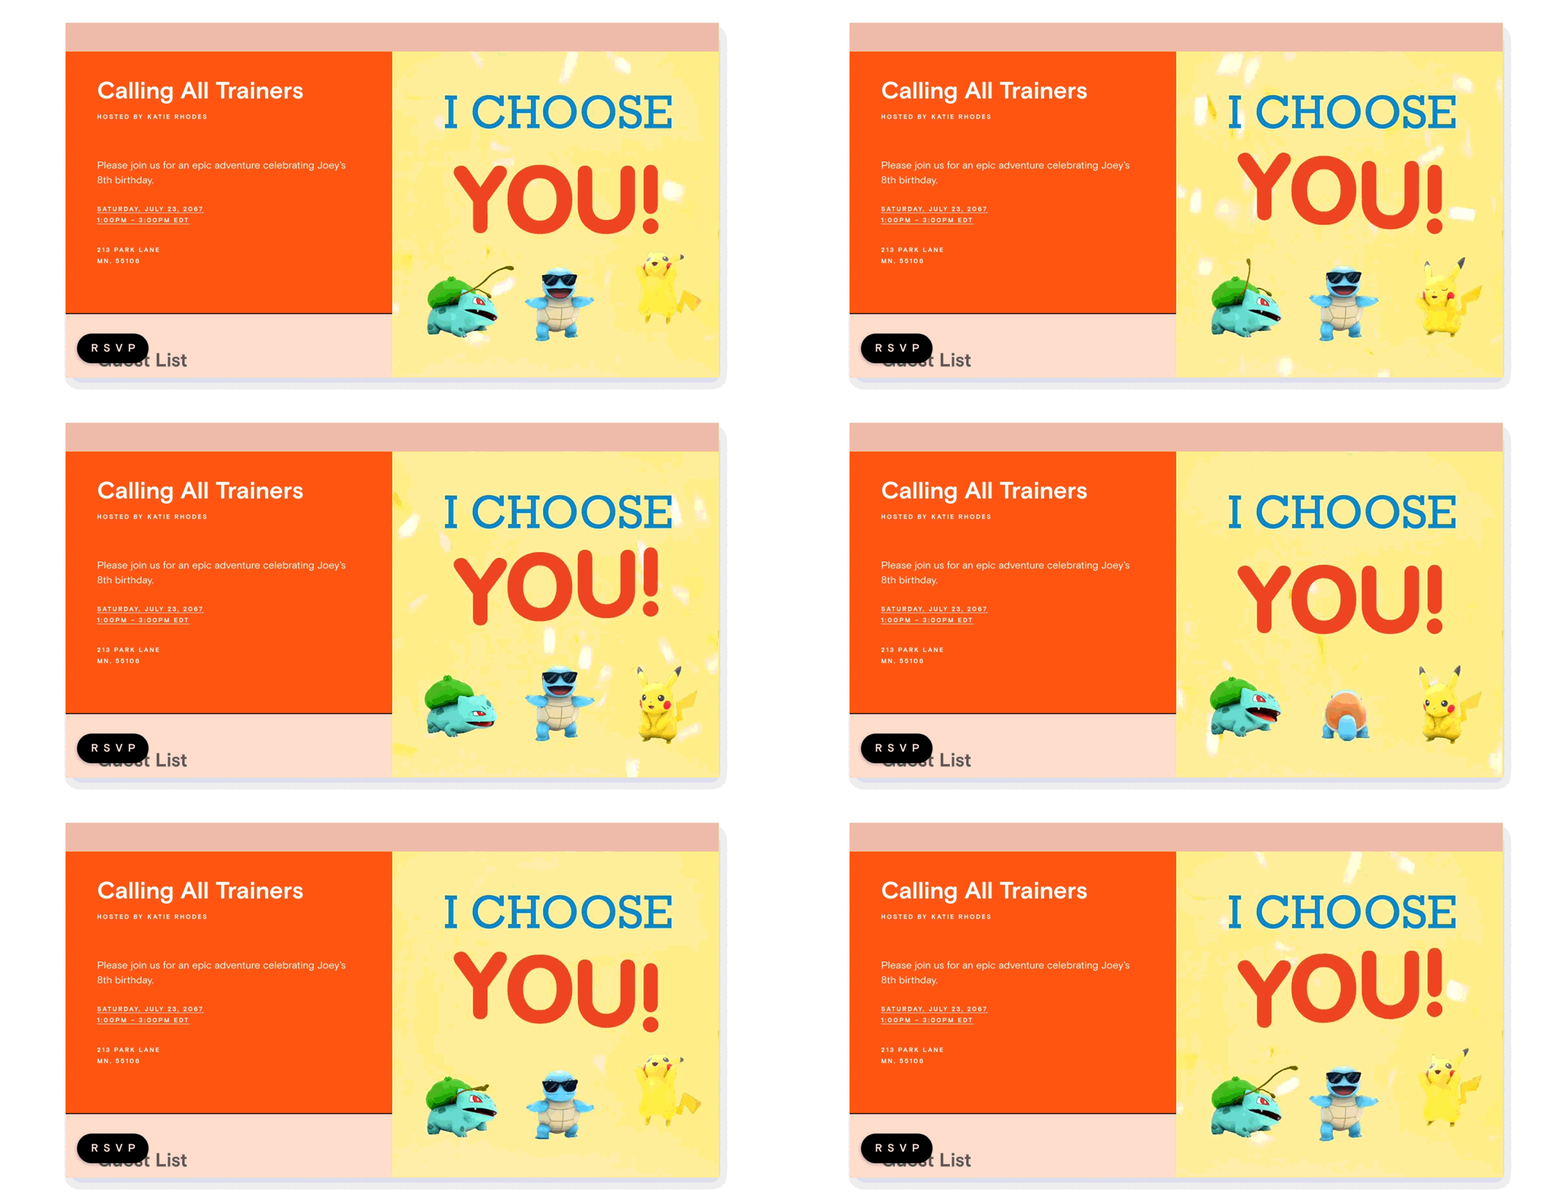
Paperless Post has two great invitation formats to choose from, depending on the style you are looking for. Cards are stationery-inspired designs that feature an invitation coming out of an envelope for the receiver and convey a more personal feel. Flyers have a modern, animated look, leveraging animated GIFs and dynamic media. Both invitation options feature customizable designs, Event Page details like Guest Questions and Blocks, and our all-in-one event management tools.
Think about a traditional paper invitation you’d receive through the mail compared to an event website or a social media post about a party. They both provide information, but present it in different ways. That’s similar to how Paperless Post Cards and Flyers work.
How to create a Paperless Post Flyer
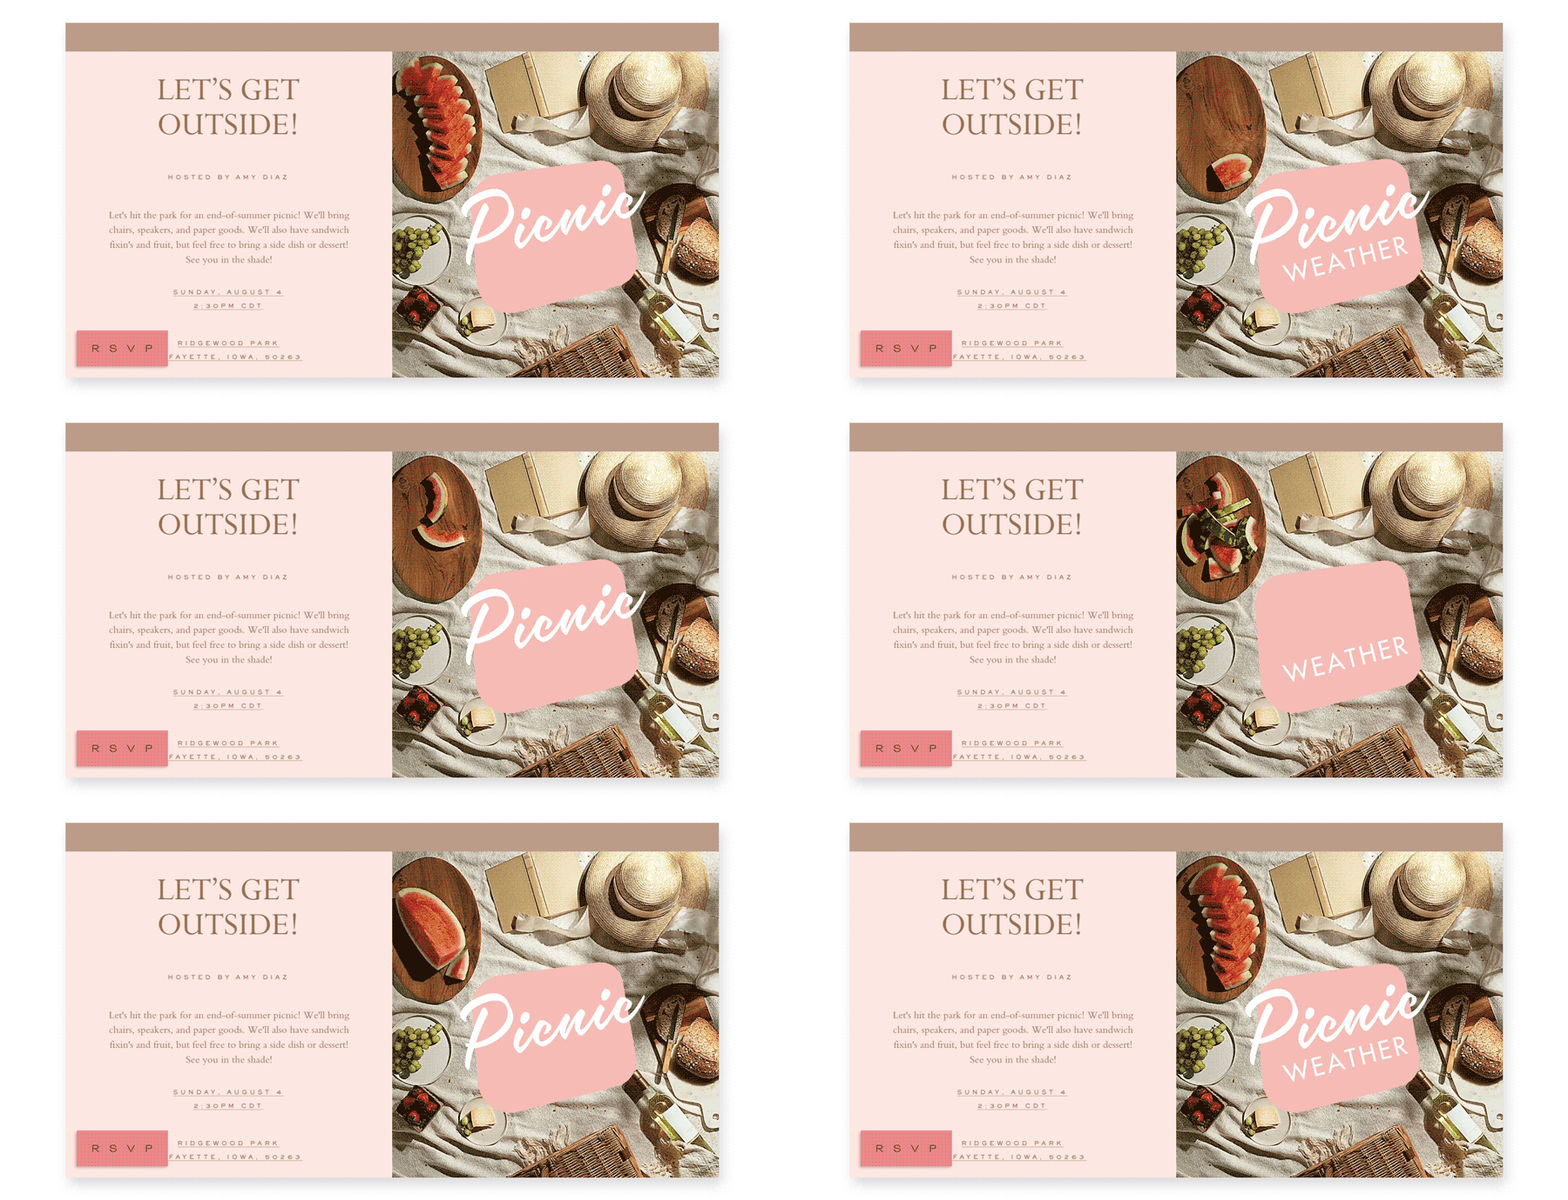
You don’t need to be a professional designer to create a great Paperless Post Flyer! With our online invitation maker, you can easily create an engaging and unique invitation that suits your event.
1. Choose your Flyer
Find a design that fits the type of event you’re hosting by selecting your occasion from our Flyer collection page. You can also toggle to the Flyer tab to view available Flyer designs while browsing by category. Once you find a Flyer template that fits the mood of your event, click “Customize.”
2. Customize your Flyer
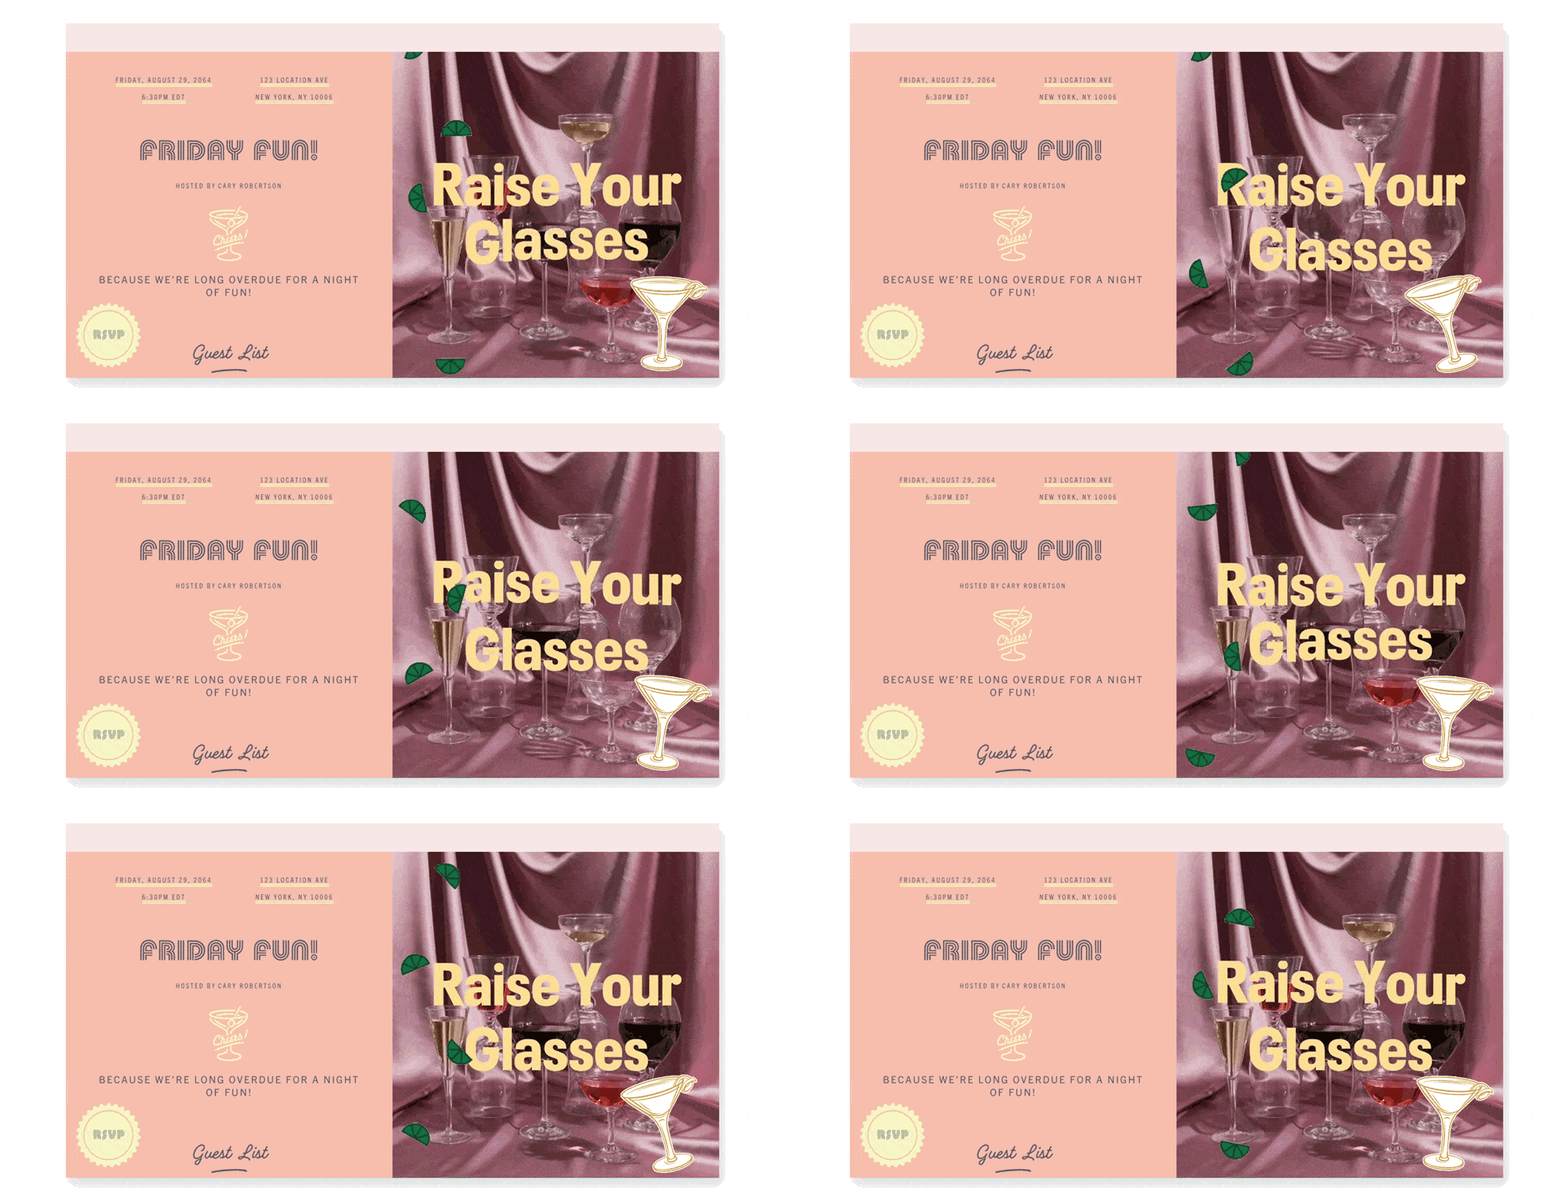
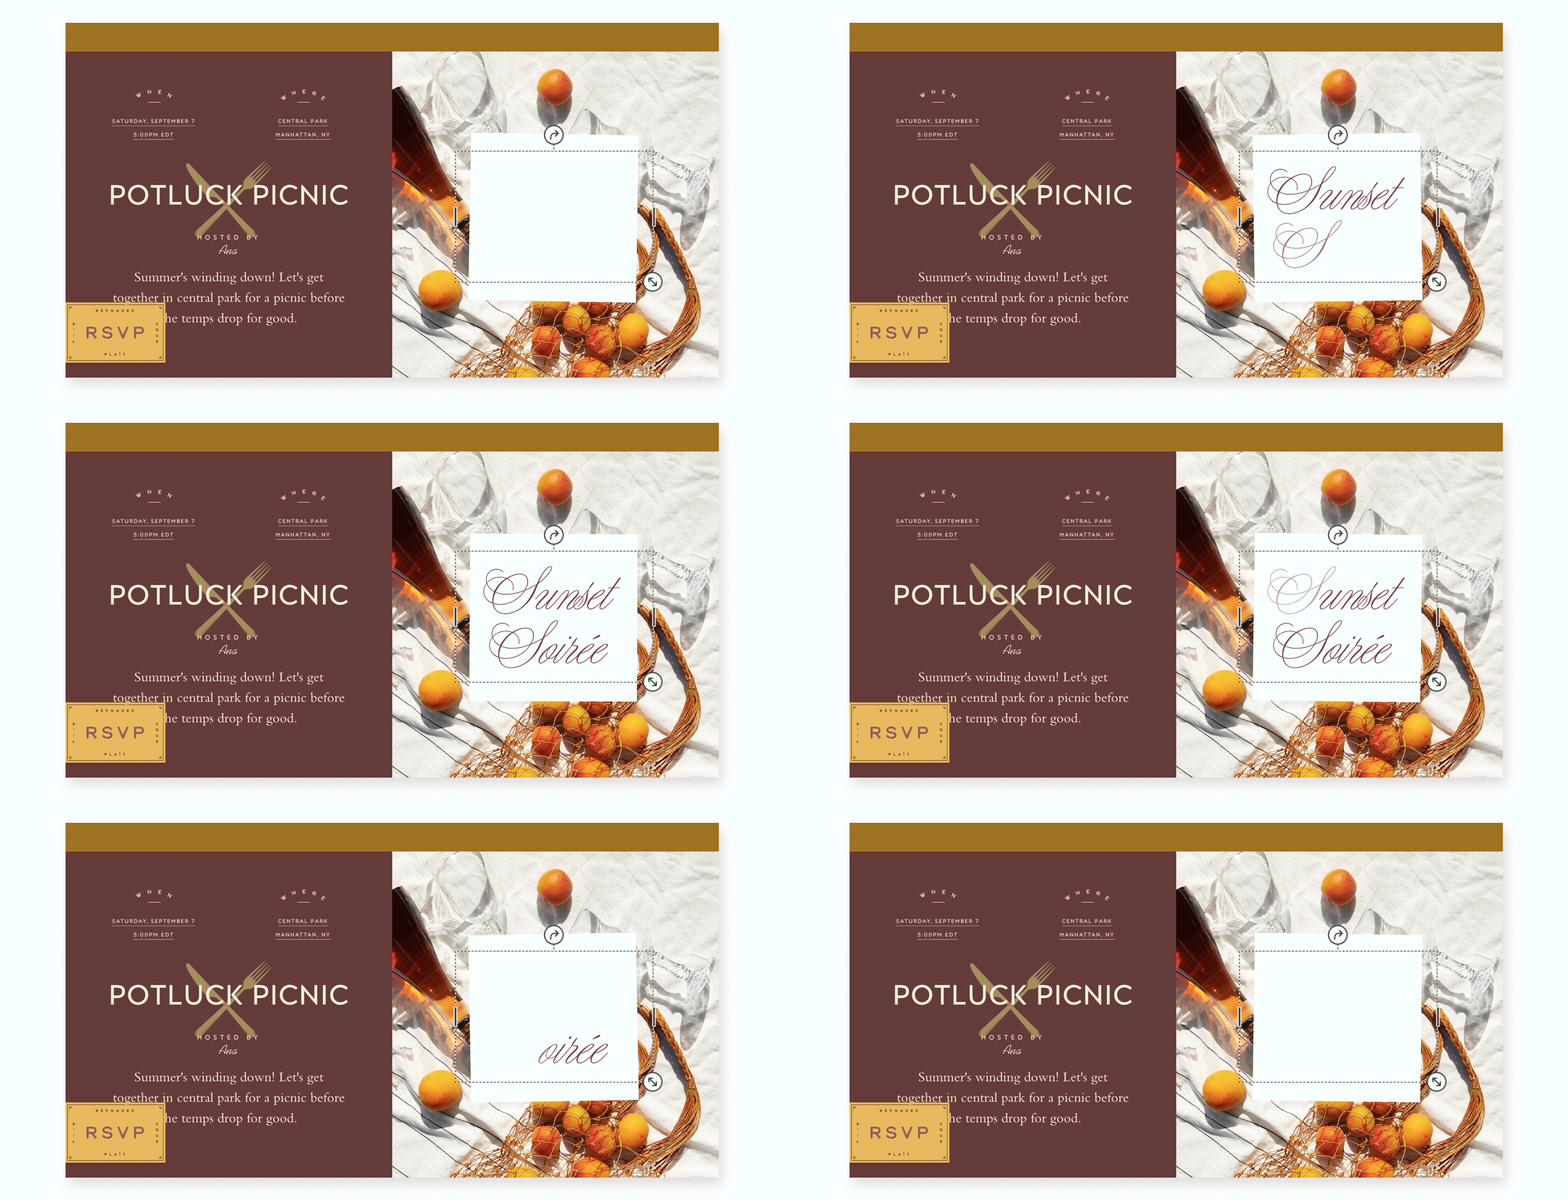
Time for the fun part! Open the media tool to customize your Flyer invitation with creative Page Styles and features that let you:
- Choose different color options and fonts
- Search, choose, and add animated stickers from the GIPHY search box available on Paperless Post, or upload your own photo, video, or GIF to make your invitation sparkle
- Change text styles or try out Magic Fonts to bring your text to life
- Upload a logo, monogram, or photo
- Change accent colors on your RSVP button and invitation format (or invert them for a fun flourish)
3. Edit your event details
Once your Flyer looks the way you want, dive into the details to add the information your guests need before they arrive.
- Add your event title and host’s name
- Enter the date and time of your event
- Provide the location of your event (or virtual location if hosting a virtual event)
- Decide whether you want to collect headcounts for both adults and children
- Choose whether each guest can bring additional people
- Set a maximum capacity for your event
- Enable Guest Questions to collect additional information from guests, including mailing addresses, meal choices, and more
4. Add Blocks
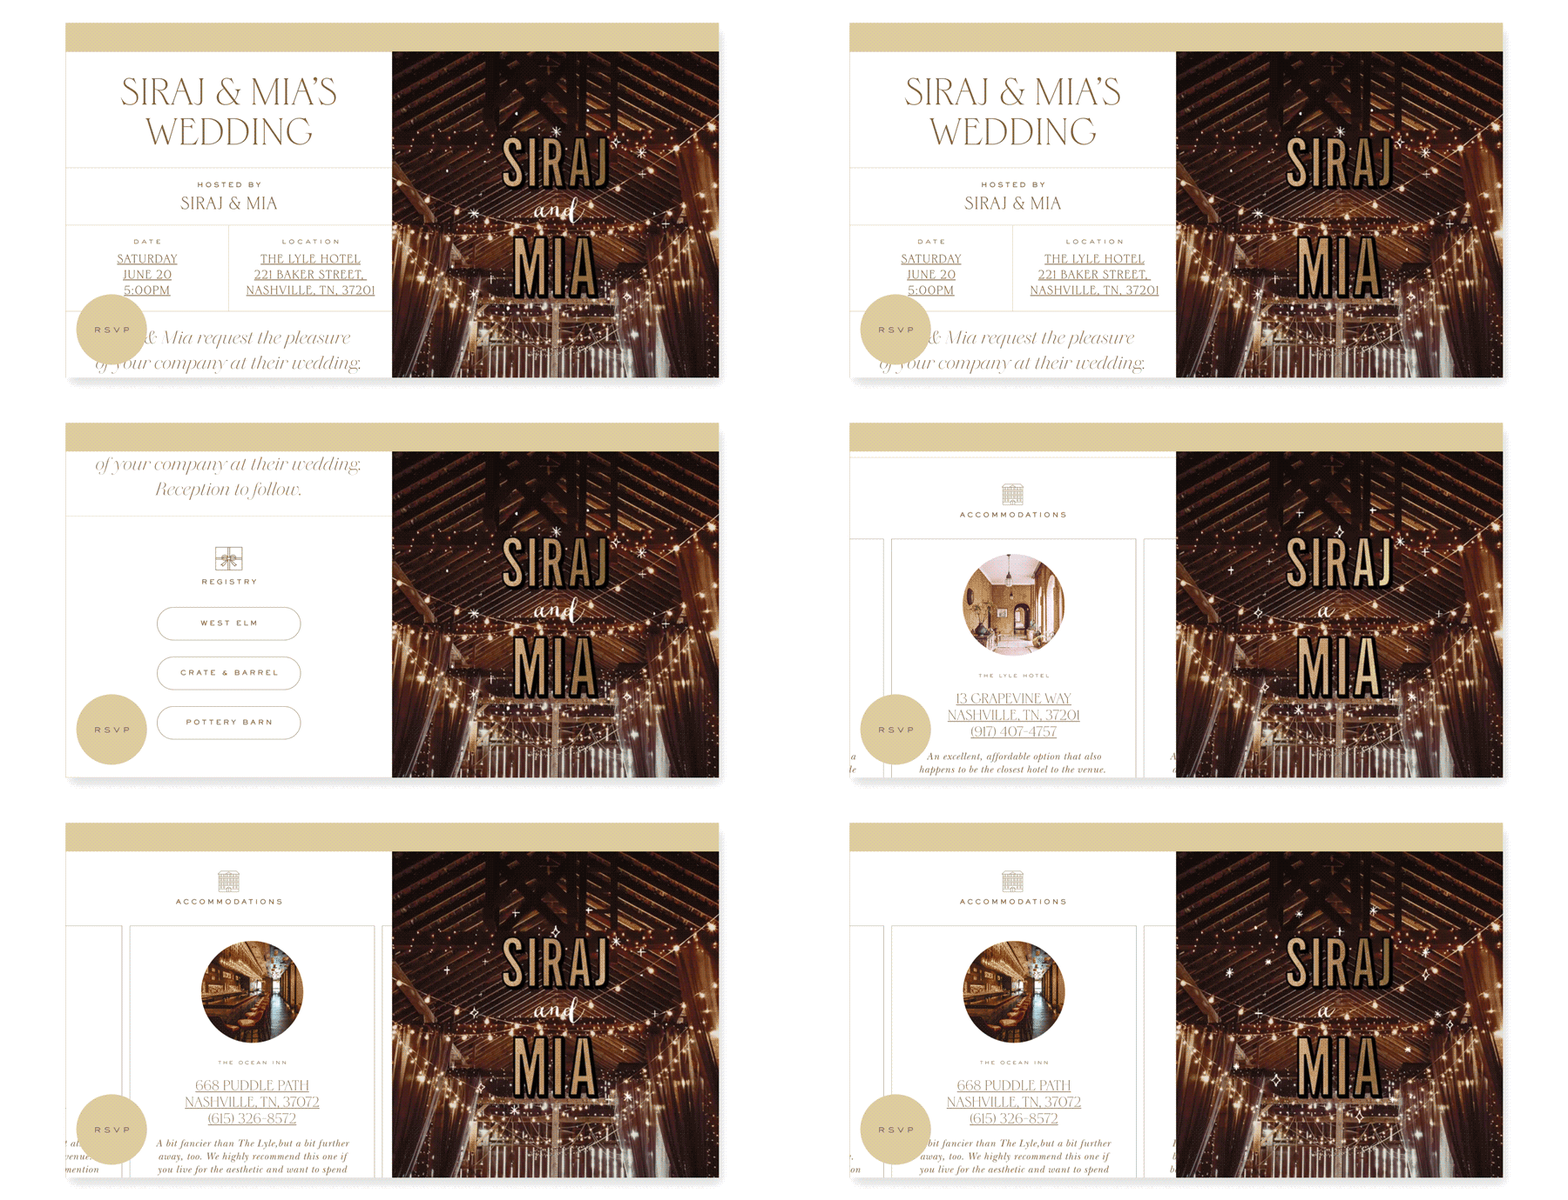
Blocks let you add more information to your Flyer while keeping everything organized and easy to read. Depending on the type of event you’re hosting, consider adding Blocks like:
- Photo Gallery Block: Upload multiple photos for guests to look through when they receive their invitation
- Video Block: Add a video that showcases a new product or highlights the reason for the event
- Sponsors Block: Acknowledge and thank event sponsors when hosting a fundraiser or corporate event
- Details Block: Mention any additional details that guests may need to know, such as parking information or driving directions
- Schedule Block: Include an agenda for events that need a detailed plan or schedule, such as a performance or a surprise party
- Travel Block: List travel details and transportation recommendations to help guests get to your event
- Registry or Link Block: Add a link to a registry, to a spreadsheet for a potluck sign-up, or to a website that explains more about the event
- Gifts Block: Add information about gifts for the guest of honor, including links to online wish lists or ideas (great for both kid and adult birthday parties)
5. Add guests to your event
Your Flyer design is complete—now it’s time to add guests. Add individual guests, or groups and families, by including their names and contact information, which you can add one by one, by pasting a list, or inputting via an uploaded spreadsheet. You can also import contacts when you use the Paperless Post app. If you’ve created Paperless Post Cards or Flyers before, you can refer to your address book from your account rather than adding them again.
6. Send your Flyer invitations
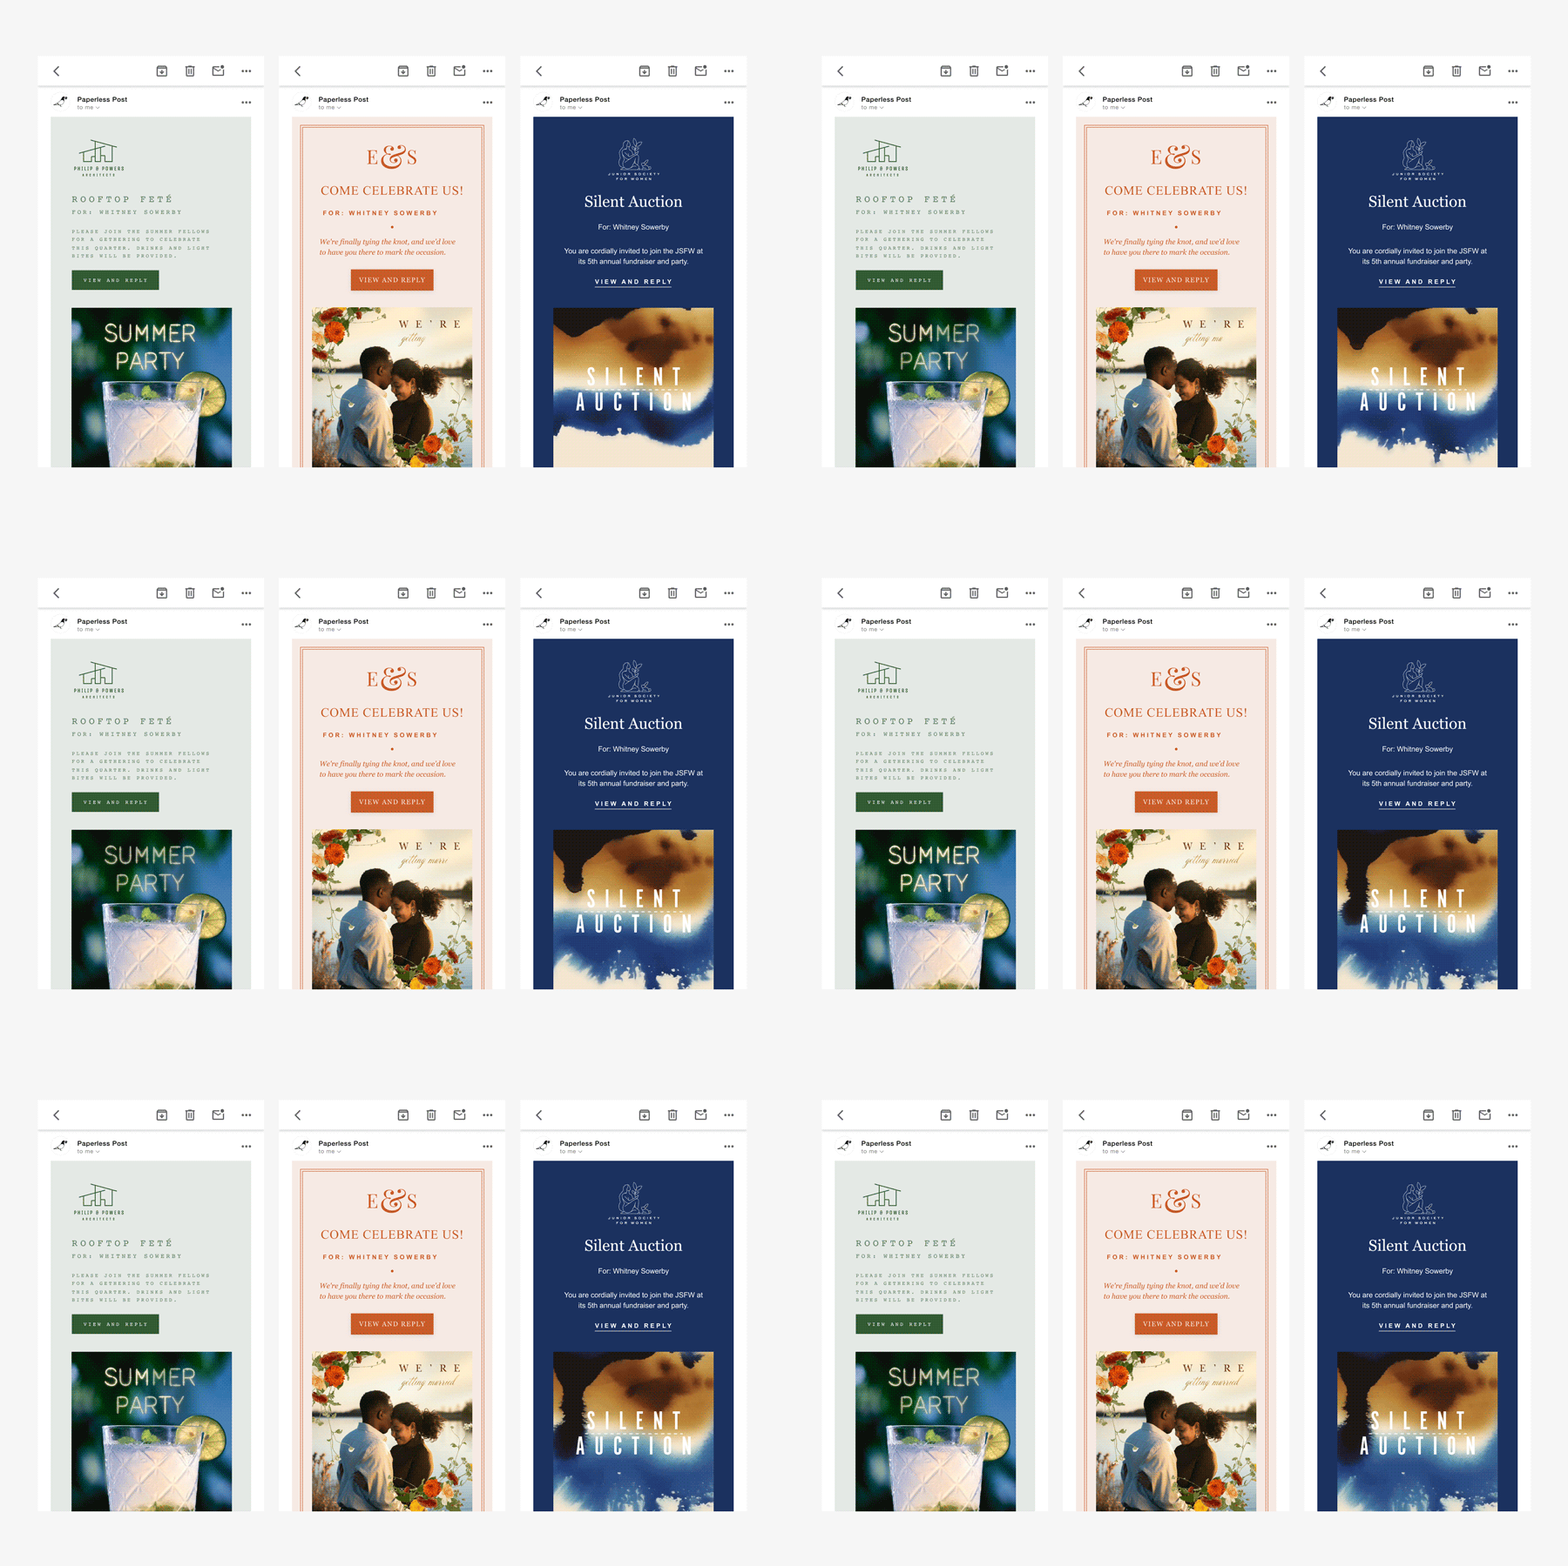
Send your Flyer invitation via email, text, or shareable link. If you choose to send via email, customize your email by uploading your own logo, changing your Email Style, and adding a custom message to share additional information with your guests.
For invitations sent via link, you can create a Custom URL to share anywhere, and add a password so only the people you want to be able to view your event details will have access.
7. Manage guests and RSVPs
After you send your invitations, your Flyer is instantly delivered to your recipients, allowing them to check out all the event details. If you added any Guest Questions, guests will be prompted to answer them after providing their RSVP. You can view and download responses from the Questions section of your Tracking page. Use Guest Tags to organize guests into groups, like individuals with dietary restrictions or VIPs.
As your event gets closer, send broadcast messages with event updates or reminders. You can also send private messages to individual guests if needed. Download our app before the big day to use the Guest Check-In feature to keep track of who has arrived and who hasn’t—a helpful tool for managing large parties.
Paperless Post Flyer FAQs
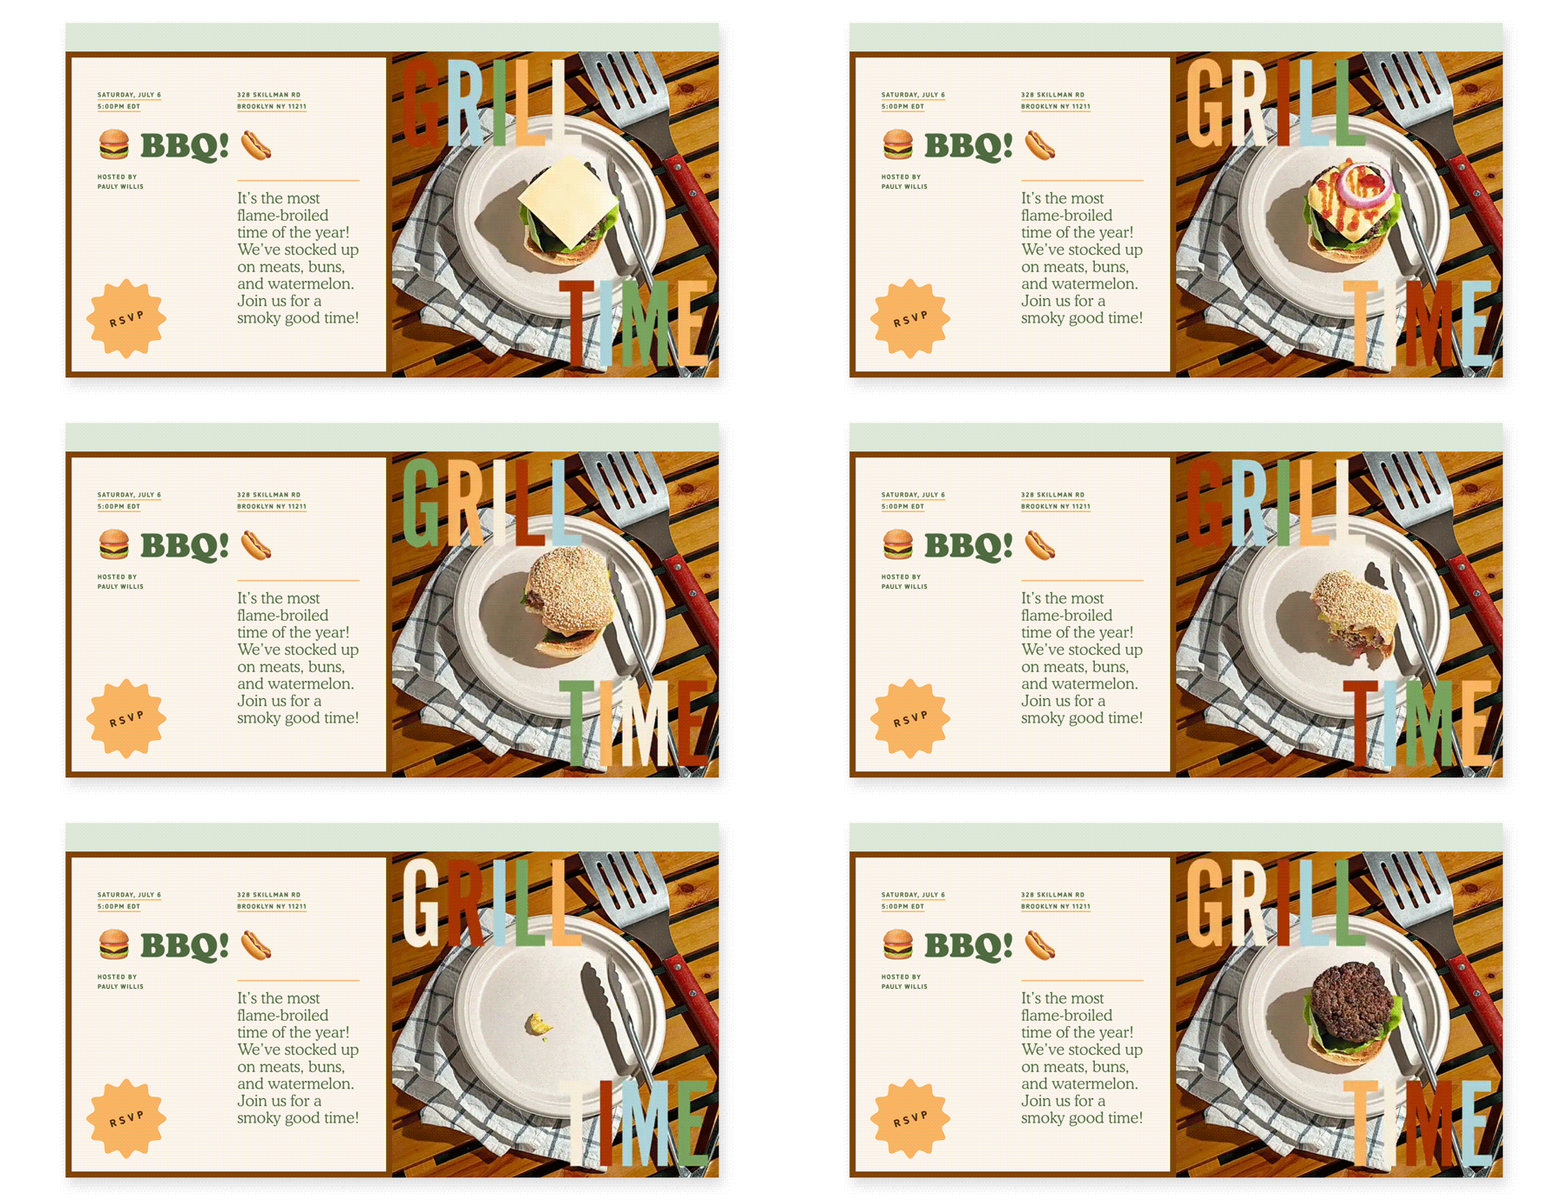
Still have questions about Paperless Post Flyers? We’ve included some commonly asked questions and answers below. If you need additional support, our Customer Operations team is here to help.
How do you share Paperless Post Flyers?
Are your guests more likely to respond to texts or social media messages than emails? That’s the beauty of Paperless Post Flyer.
These versatile invitations let you invite guests your way, whether that’s through email, text, or a shareable link. Post them on your office Slack channel, in a text thread with your siblings, on a community message board, or anywhere else your guests may be.
Can you change event details after you send a Flyer?
Nothing’s set in stone when you create a Flyer. If you need to change the date, location, or details about an event—or if you’ve found a typo or something that needs to be corrected—just go to My Events in your Paperless Post account, select the event you want to edit, and click “Manage.” Then, choose “Edit event details” under the “Edit” dropdown in the menu. Change what you need, then notify guests about the new information by sending a broadcast message.
What kinds of Guest Questions can you ask guests using Flyer?
As you add event details, you can include Guest Questions in different formats, including short answer, multiple choice, checkboxes, or mailing addresses.
- Short answer questions: Allow guests to answer questions of your choosing in their own words. Short answer questions are great when you need open-ended replies, such as “Do you have any food allergies?” or “What’s your best marriage advice for the bride?”
- Multiple choice questions: These are good for surveys or when guests need to choose between items, like wedding entrees or favorite drinks.
- Checkboxes: These are good for questions that could include several items, such as desired pizza toppings or products to take home from a launch party.
- Mailing address questions: Use this question type to collect mailing address information, like when you’re sending out save the dates.
Can you copy a previous Flyer template?
Did you spend a lot of time perfecting your last design, and now you want to use it for your next event? Go to My Events in your Paperless Post account and find the Flyer you’d like to copy. Choose the “…” icon, then select “Clone Flyer” to start working on your brand-new Flyer immediately!
What’s coming next for Flyer?
We have big plans for Flyer! We’re excited to offer more powerful design tools and build out more Blocks that will make Flyers more fun to create, more useful for different types of events, and improve the native mobile experience. We’ve loved seeing people use Flyer and give feedback on the product over the last five years, and we’re looking forward to what’s next. The one thing that will always stay the same? Our commitment to supporting you as you plan and invite people to all the important gatherings in your life.
Spend less time organizing and more time partying
Paperless Post knows that parties are supposed to be fun—and that includes the planning process. Our Flyers bring life to your invitations and excitement to your guests’ inboxes—the only missing ingredient is your creativity! As always—happy planning!
